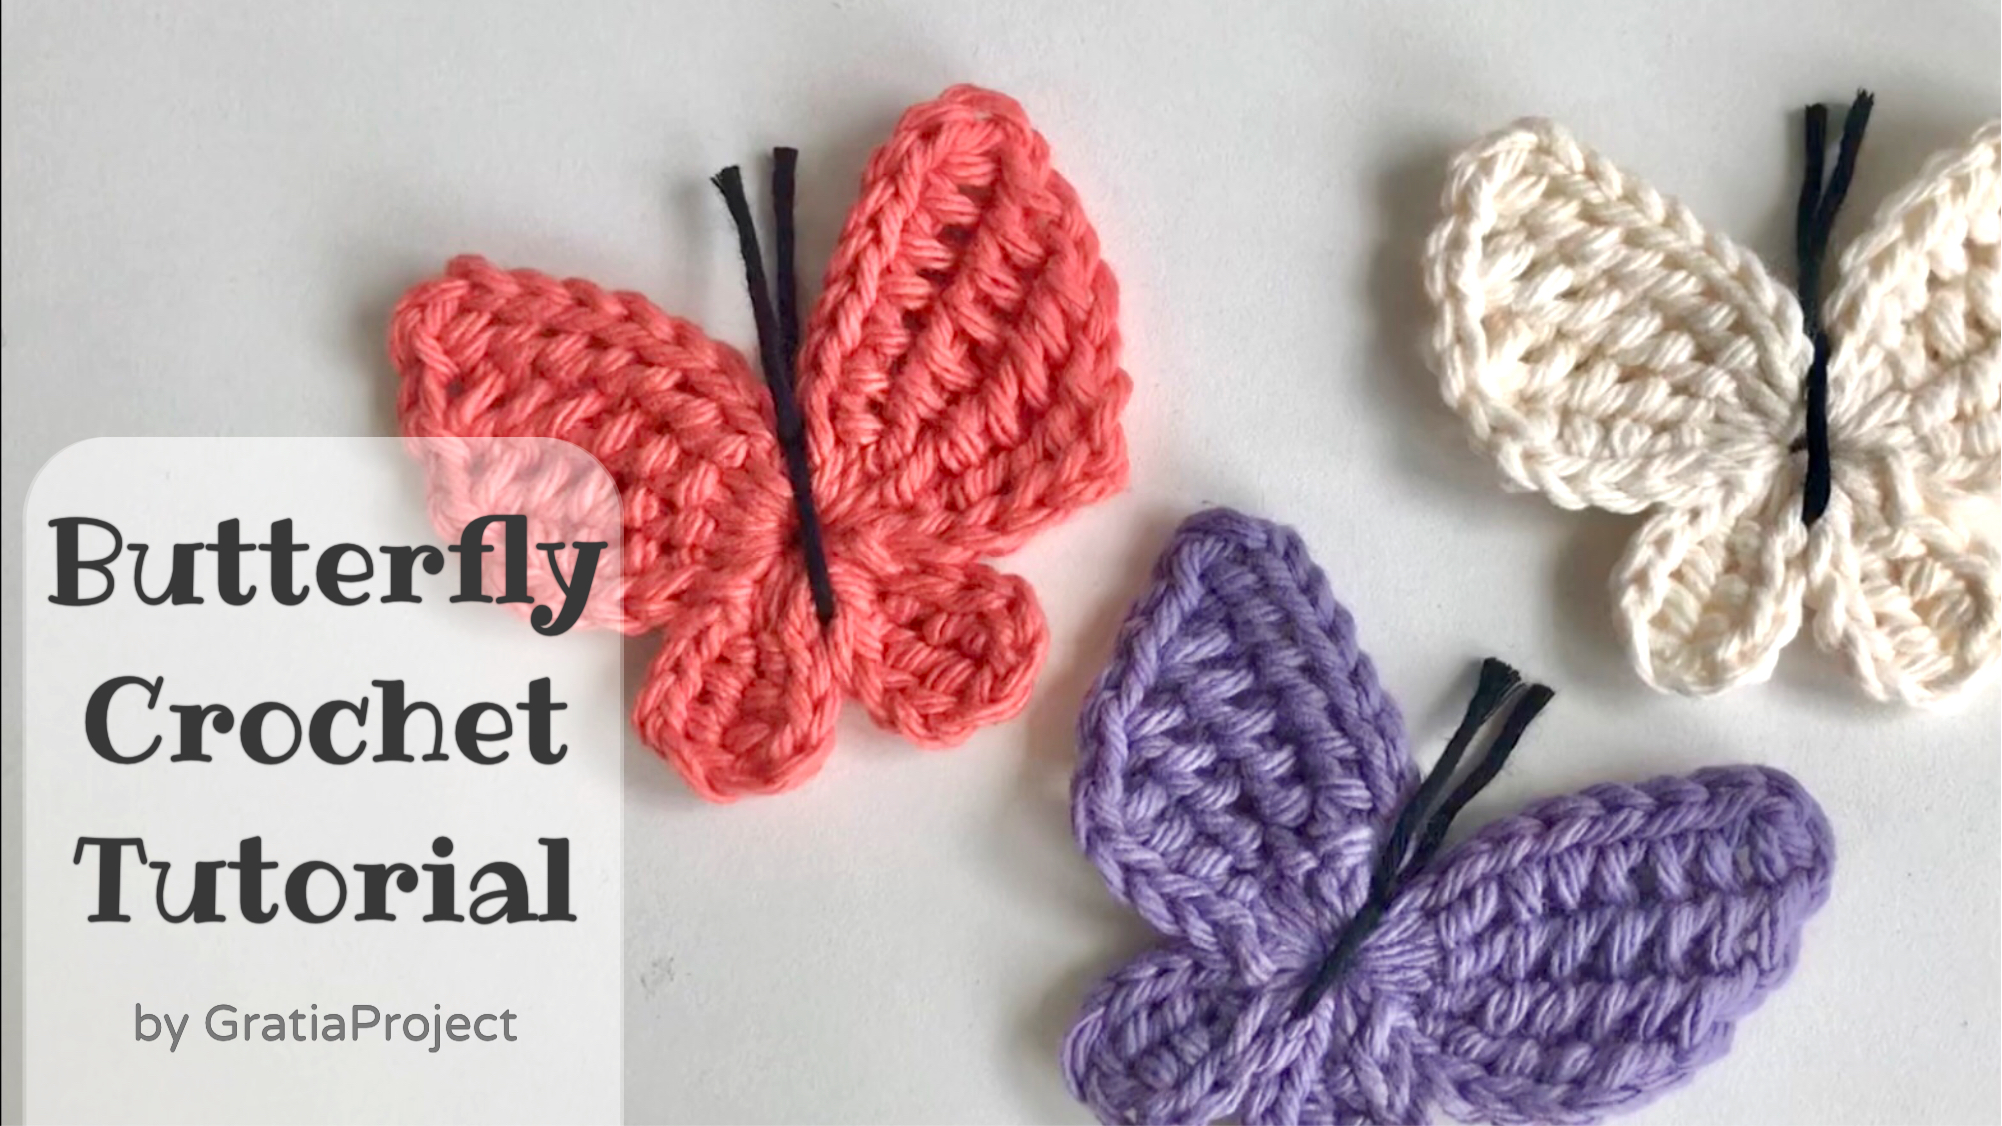
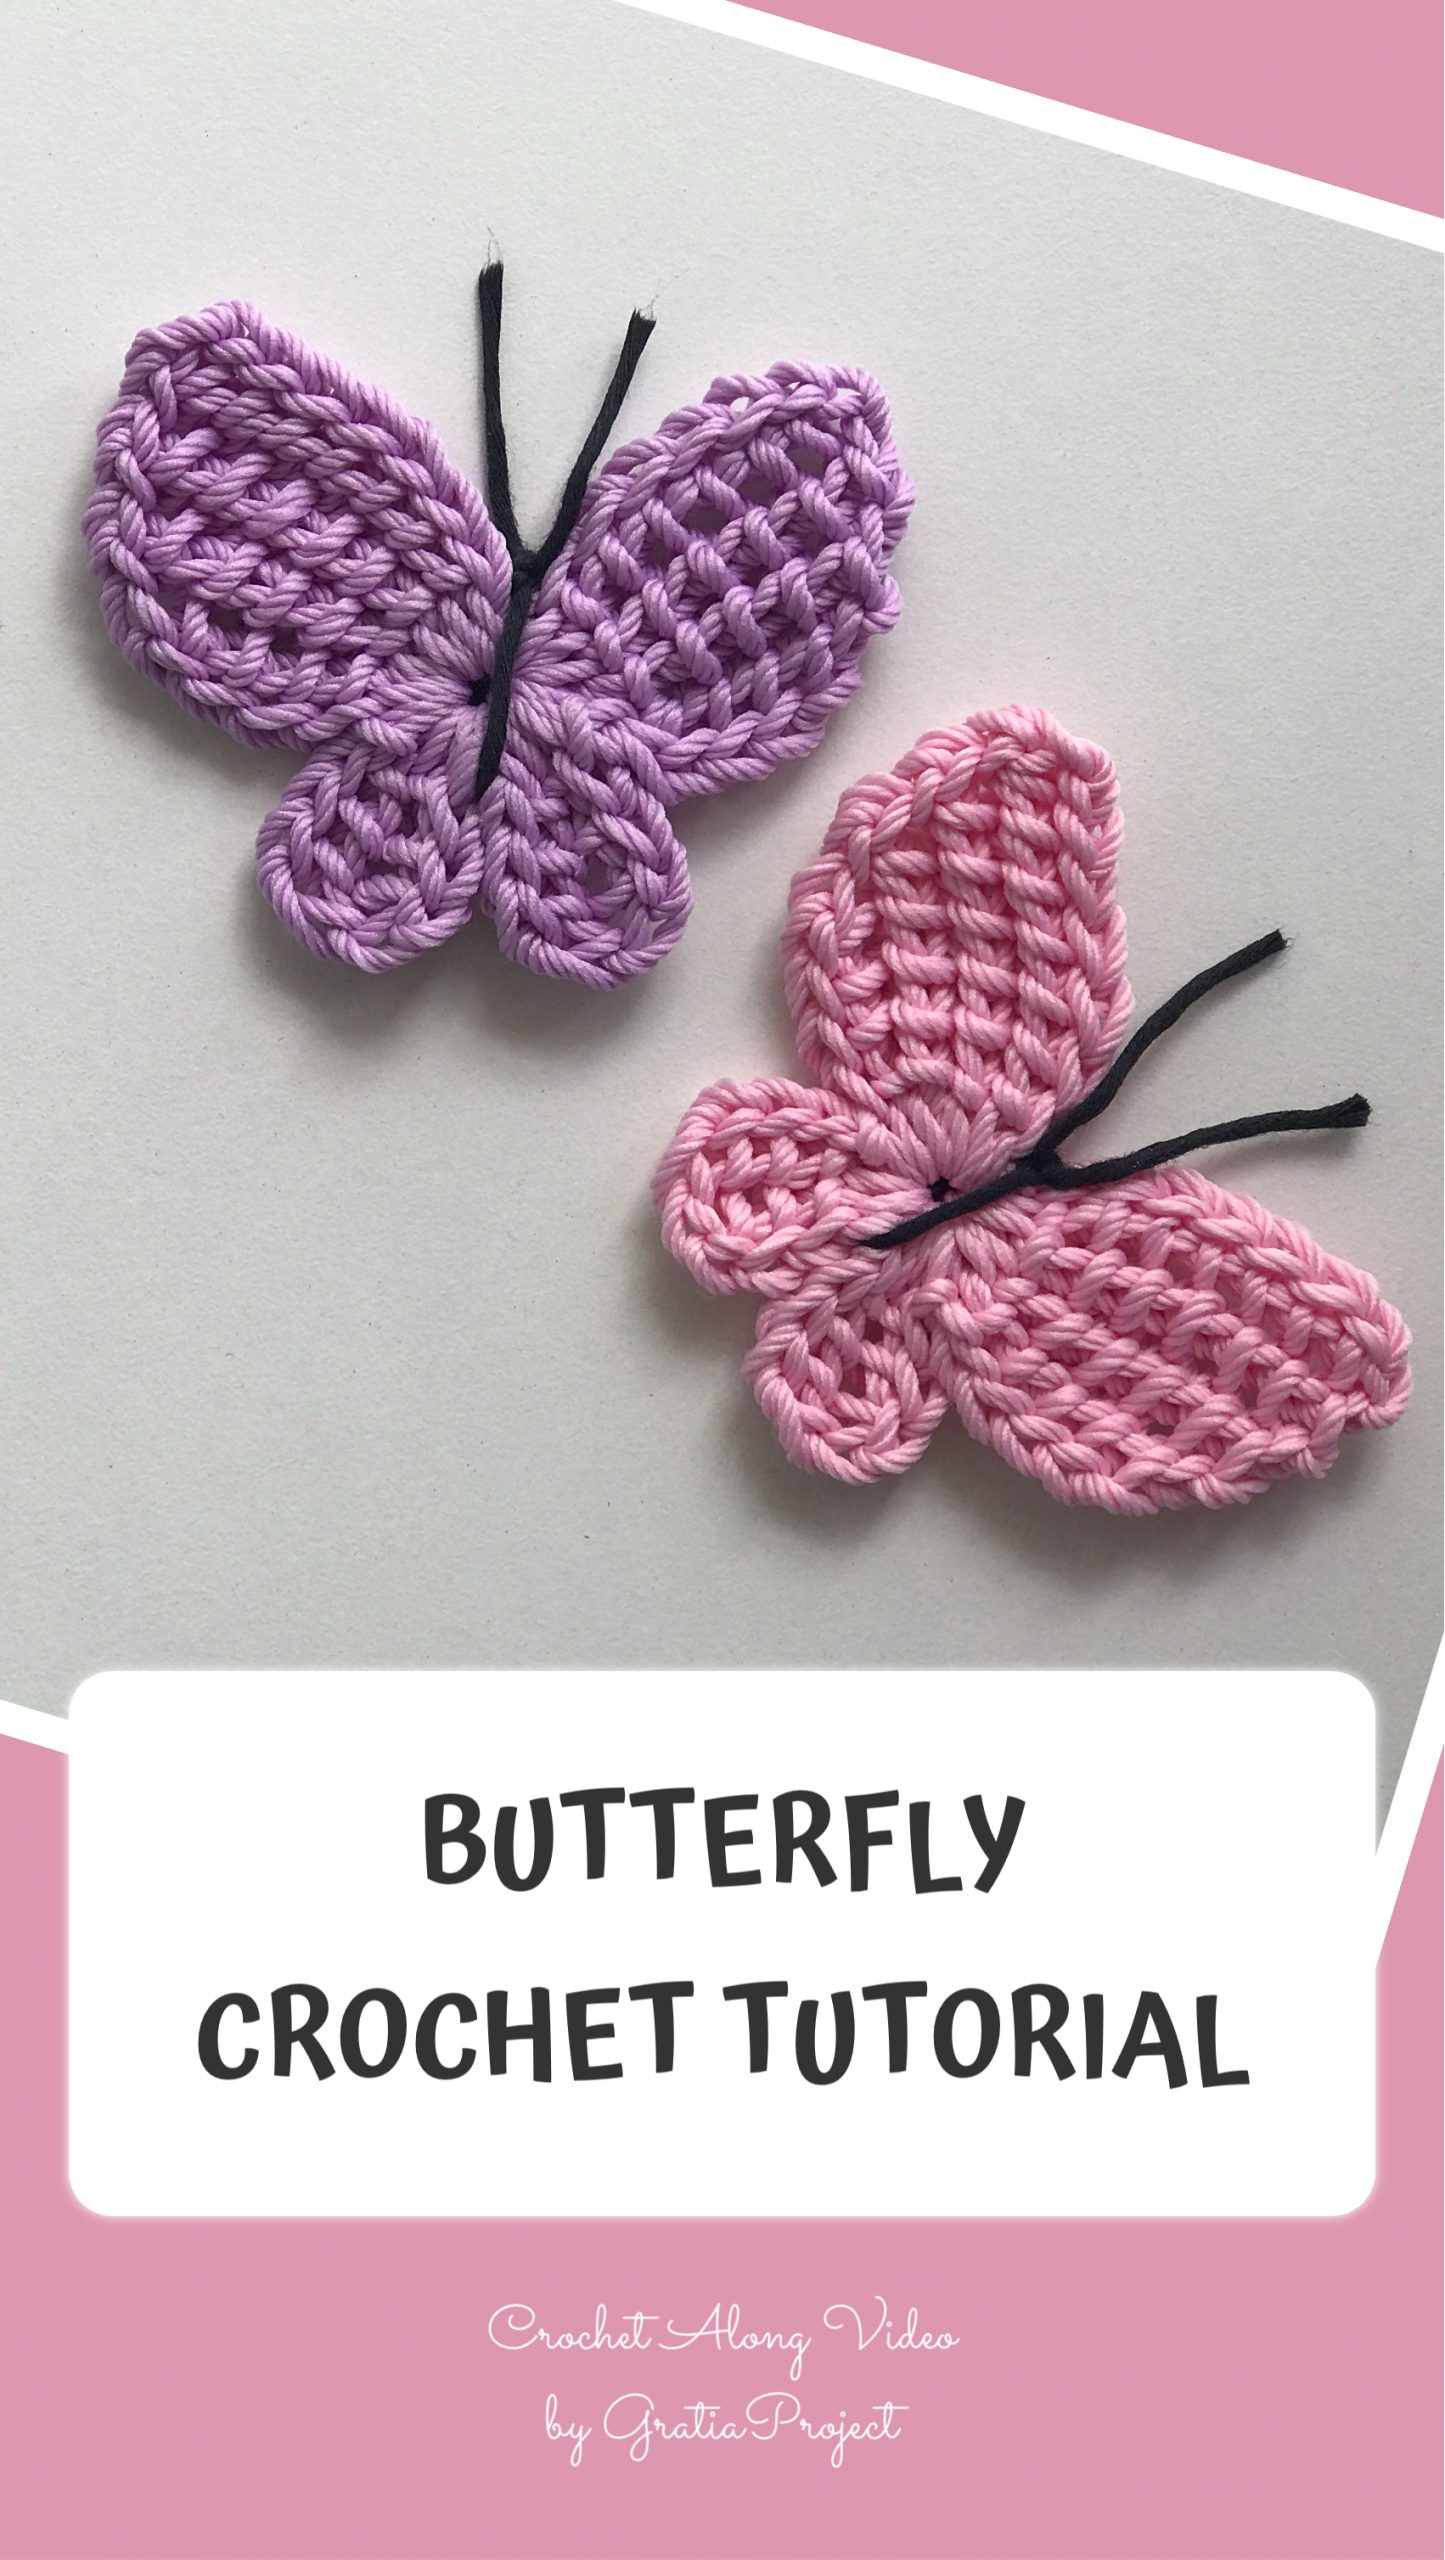
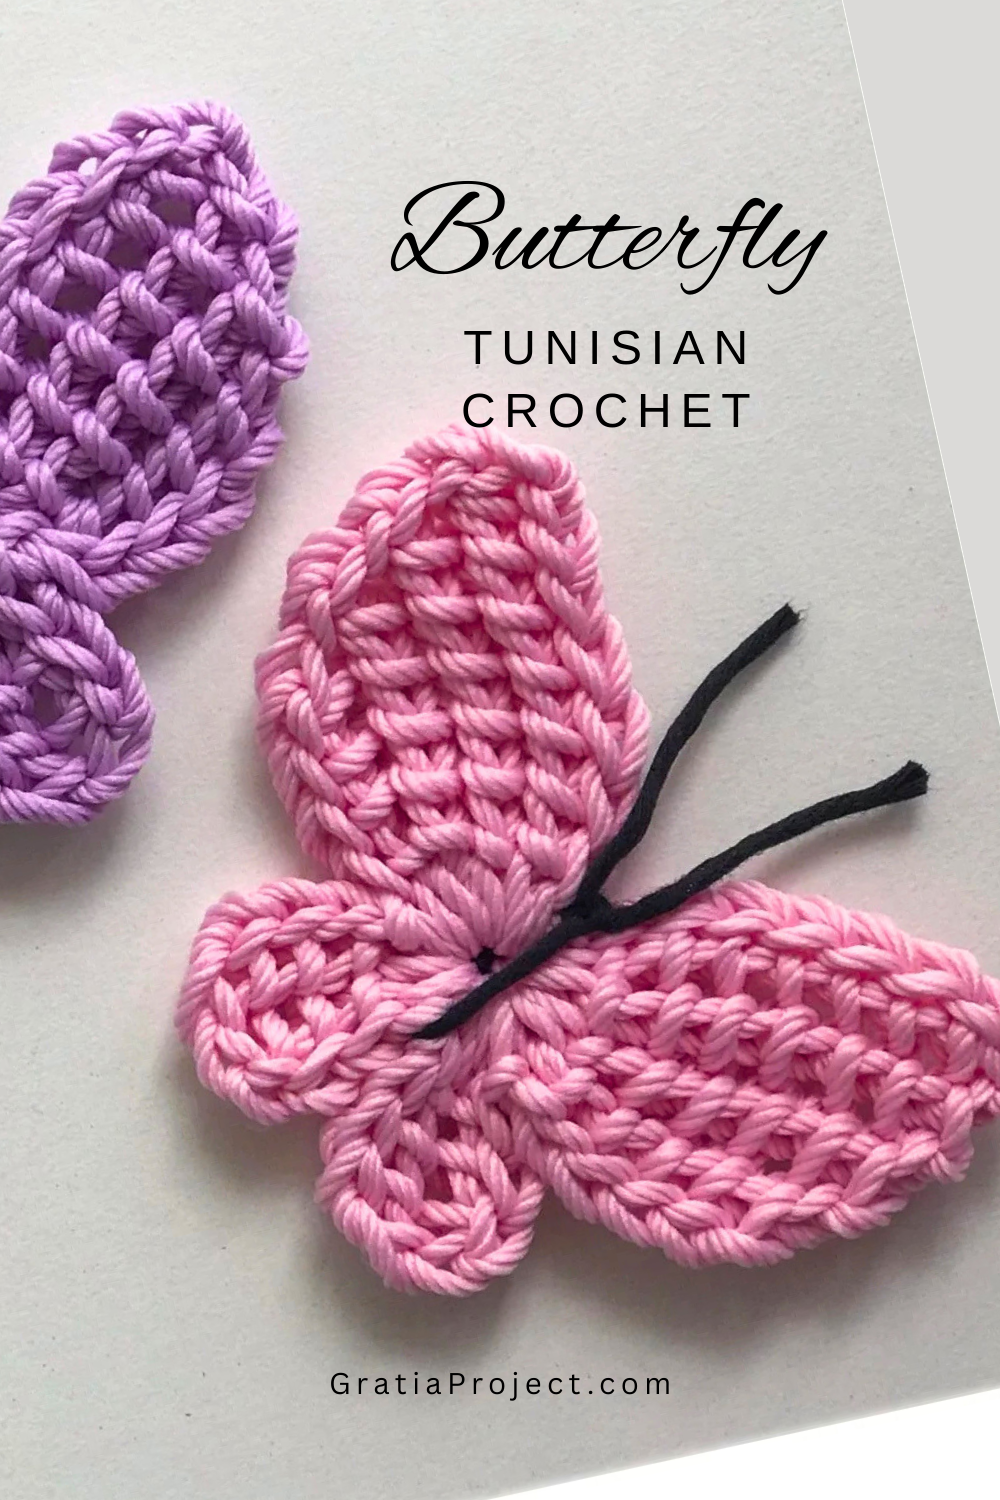
Butterfly Crochet Tutorial | Tunisian Butterfly Applique
Tutorial video step-by-step how to #crochet butterfly, mixed with tunisian crochet technique. Perfect for applique, hair pin, decoration, gift, etc. I am using worsted-weight yarn (Lily Sugar and Cream yarn), and crochet hook size 3 mm. Feel free to use other kind of yarn, and a matching crochet hook. #tunisianbutterfly #crochetbutterfly
0:00 Intro & materials
0:18 Materials
0:43 First step: make a magic ring
3:03 How to do the first row
9:48 Making the small wing
12:24 Making the other side of wing
17:47 Finishing
Watch step-by-step video tutorial of Butterfly Crochet Tutorial | Tunisian Butterfly Applique
Tunisian Butterfly Crochet Pattern – WRITTEN PATTERN (This is FREE Pattern, DO NOT copy to any other site):
TOP WING Butterfly Pattern
Row 1:
In a Magic Ring, chain 8.
Insert hook and pull up a loop (insert hook in the back loops only). Leave the loop on the hook. Continue pull up a loop (8 loops on the hook). Insert hook in the middle of the Magic Ring, pull up a loop. Now we have 9 loops on the hook.
Yarn over, pull up a loop through 2 loops until there is 1 loop left.
Insert hook, pull up a loop, slip stitch.
Row 2:
Do the same step with first row. Total 8 loops on the hook.
Yarn over, pull up a loop through 2 loops until there is 1 loop left.
Insert hook, pull up a loop, slip stitch.
Row 3:
Do the same step with first row. Total 7 loops on the hook.
Yarn over, pull up a loop through 2 loops until there is 1 loop left.
Insert hook, pull up a loop, slip stitch.
Row 4:
Do the same step with first row. Total 6 loops on the hook.
Yarn over, pull up a loop through 2 loops until there is 1 loop left.
Close the top wing with slip stitch in the next 4 stitch. Insert hook in the middle of Magic Ring. Slip stitch.
TOP WING finished.
BOTTOM WING Butterfly Pattern
Row 1:
Start with chain 4. Pull up a loop until we have 4 loops on the hook. Pull up a loop through the middle of the magic ring. Total 5 loops on the hook.
Yarn over, pull a loop through 2 loops.
Row 2:
Pull up a loop until we have 4 loops on the hook. Pull up a loop through the middle of the magic ring. Total 5 loops on the hook.
Yarn over, pull a loop through 2 loops.
Close the BOTTOM WING with slip stitch.
BOTTOM WING Butterfly Pattern (the other side)
Row 1:
Start with chain 4. Pull up a loop until we have 4 loops on the hook. Pull up a loop through the middle of the magic ring. Total 5 loops on the hook.
Yarn over, pull a loop through 2 loops.
Row 2:
Pull up a loop until we have 4 loops on the hook. Pull up a loop through the middle of the magic ring. Total 5 loops on the hook.
Yarn over, pull a loop through 2 loops.
Close the BOTTOM WING with slip stitch.
TOP WING Butterfly Pattern (the other side)
Next for the other TOP WING PATTERN, not decrease, but increase by adding chain 1.
Row 1:
Start with chain 5. Pull up a loop until we have 5 loops on the hook. Pull up a loop through the middle of the magic ring. Total 6 loops on the hook.
Yarn over, pull a loop through 2 loops.
Row 2:
Ch 1. Pull up a loop until we have 6 loops on the hook. Pull up a loop through the middle of the magic ring. Total 7 loops on the hook.
Yarn over, pull a loop through 2 loops.
Increase by chain 1.
Row 3:
Ch 1. Pull up a loop until we have 7 loops on the hook. Pull up a loop through the middle of the magic ring. Total 8 loops on the hook.
Yarn over, pull a loop through 2 loops.
Increase by chain 1.
Row 4:
Ch 1. Pull up a loop until we have 8 loops on the hook. Pull up a loop through the middle of the magic ring. Total 9 loops on the hook.
Yarn over, pull a loop through 2 loops.
Close with slip stitch.
Fasten off and cut the yarn.


Recently stumbled onto this via YouTube! WOW the butterflies turn out beautifully amazing. Thank you for sharing! Great pattern.
Thank you so much, I can’t wait to practice with this. I’m making a baby quilt and want to sew these to the top.
Thank you so much for this lovely pattern.
Can I just check with you that there is a small mistake at row 1? Should there be a chain 1 at the end of this row?