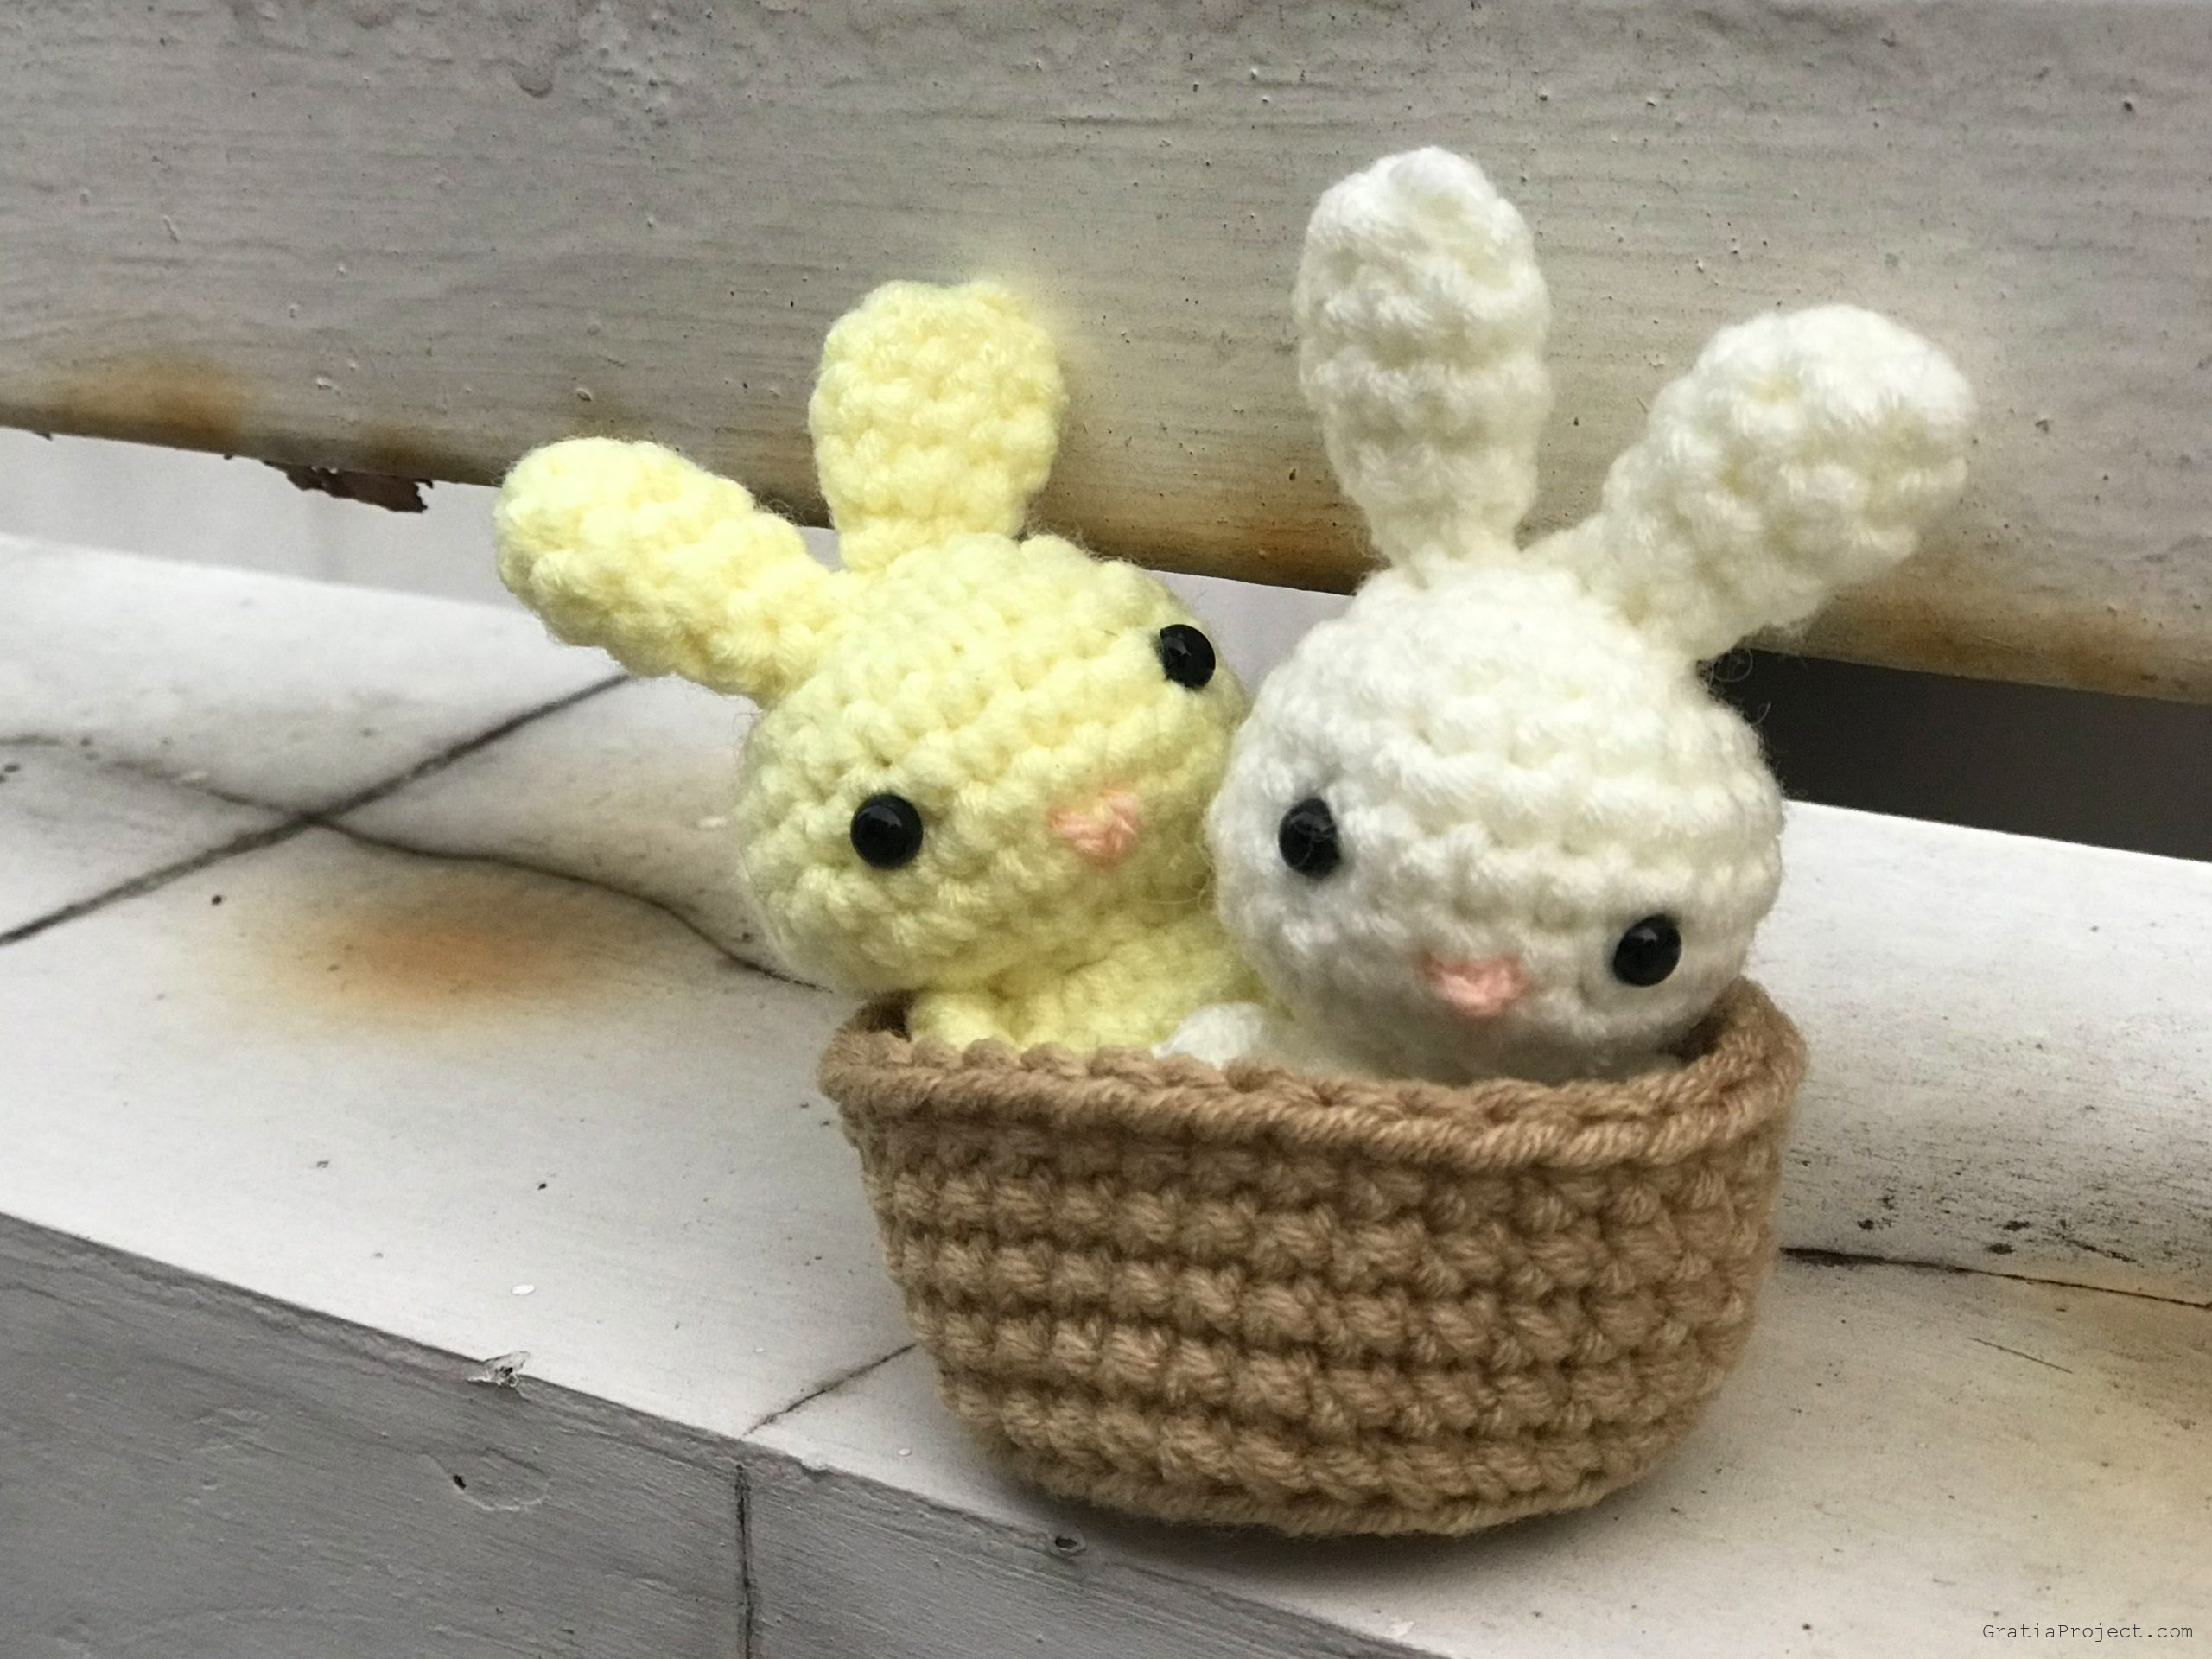
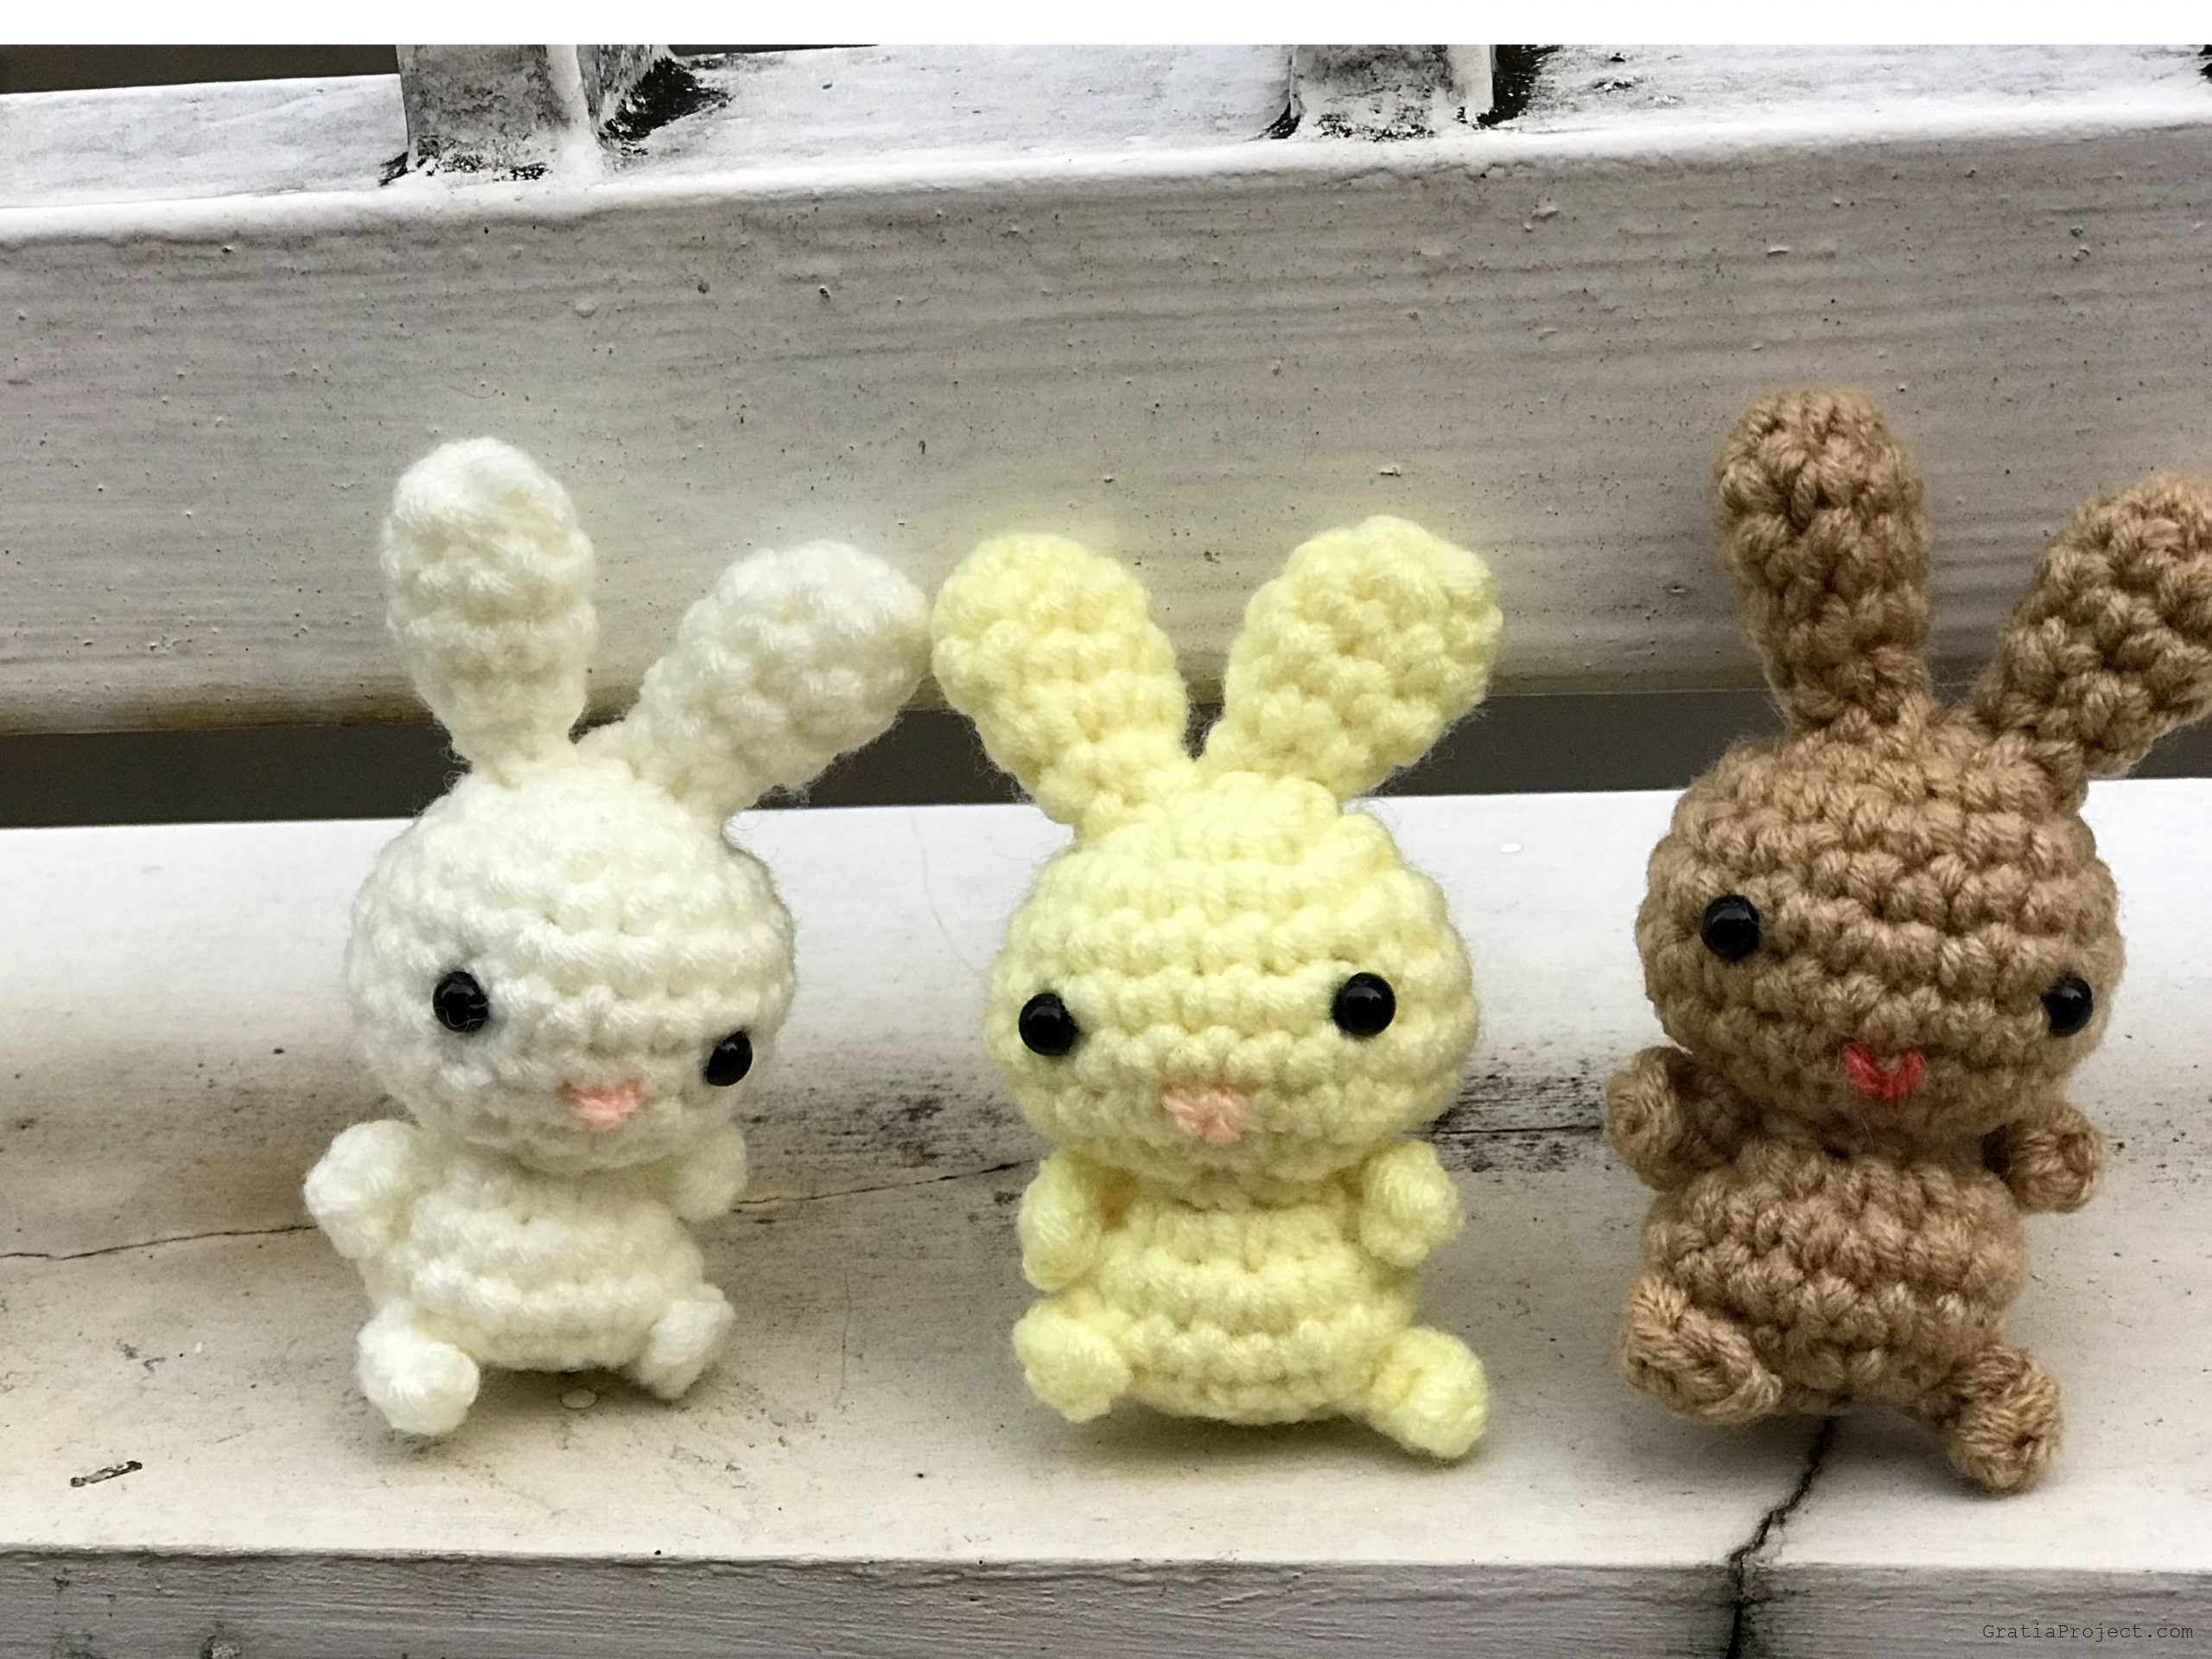
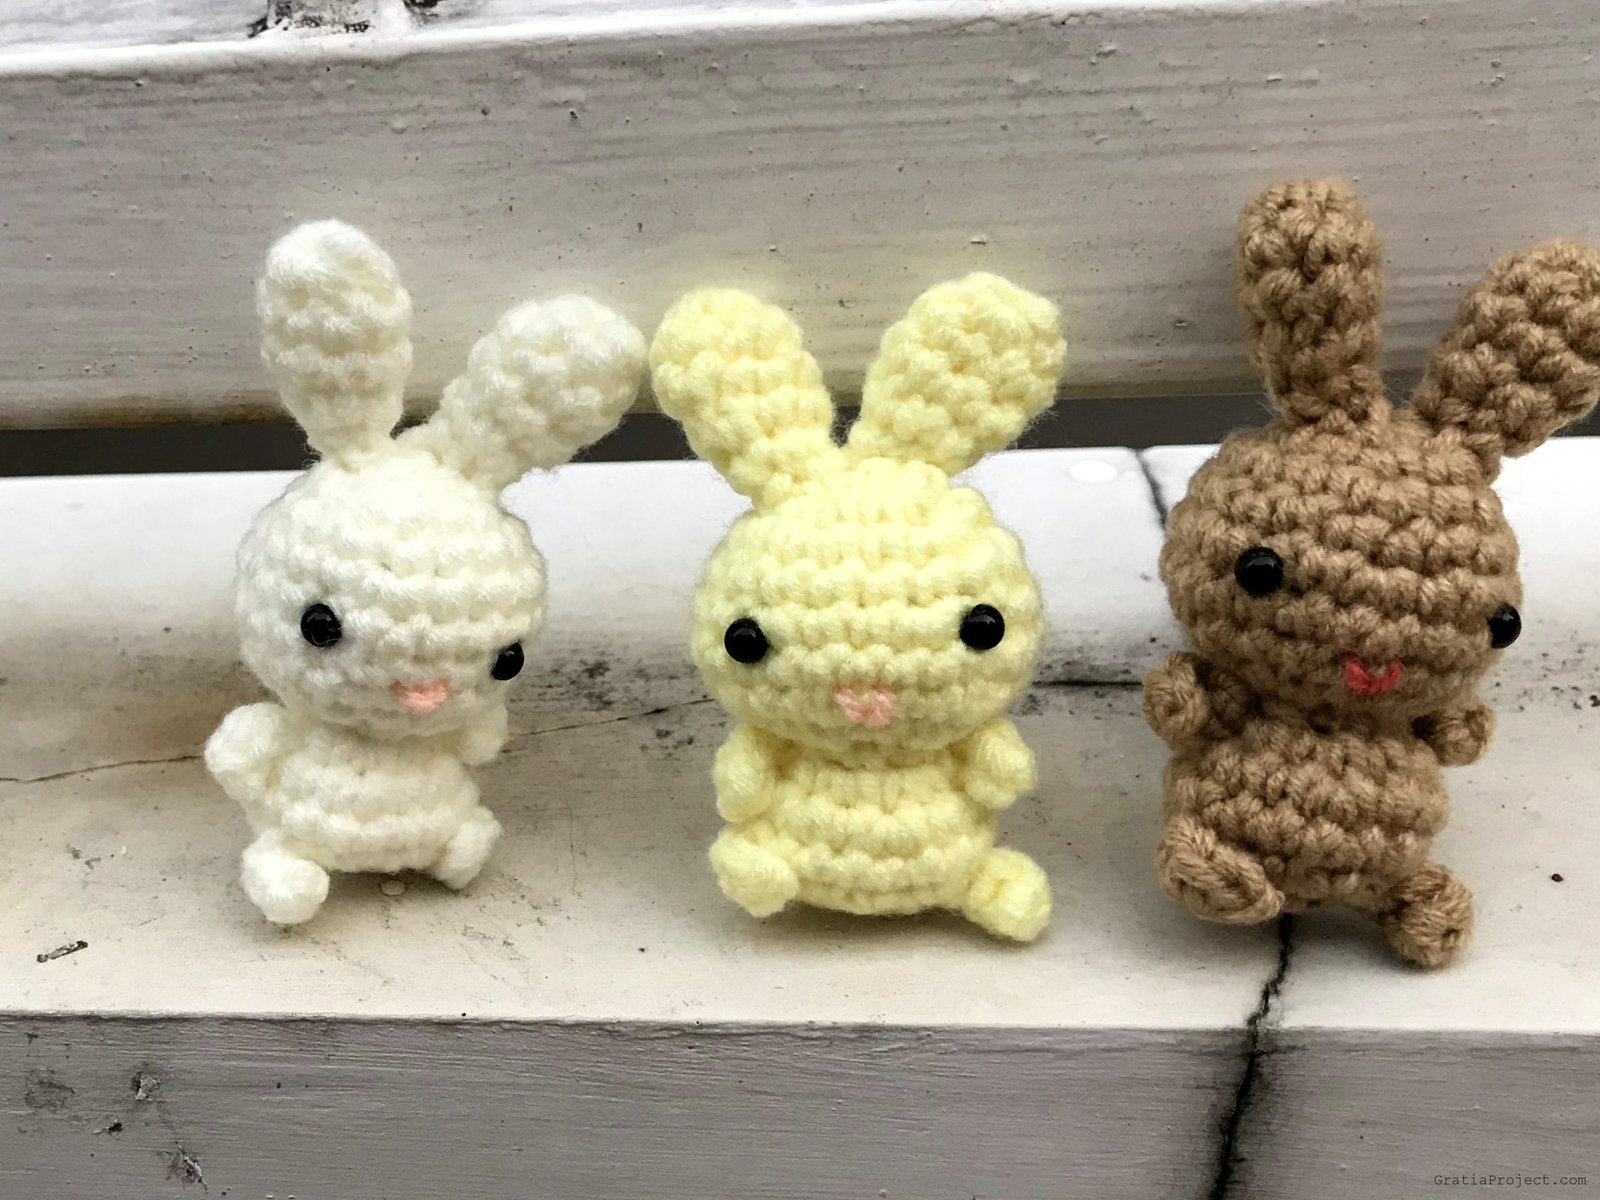
Crochet Cute Bunny Rabbit Amigurumi
Make this mini cute bunny rabbit crochet amigurumi.
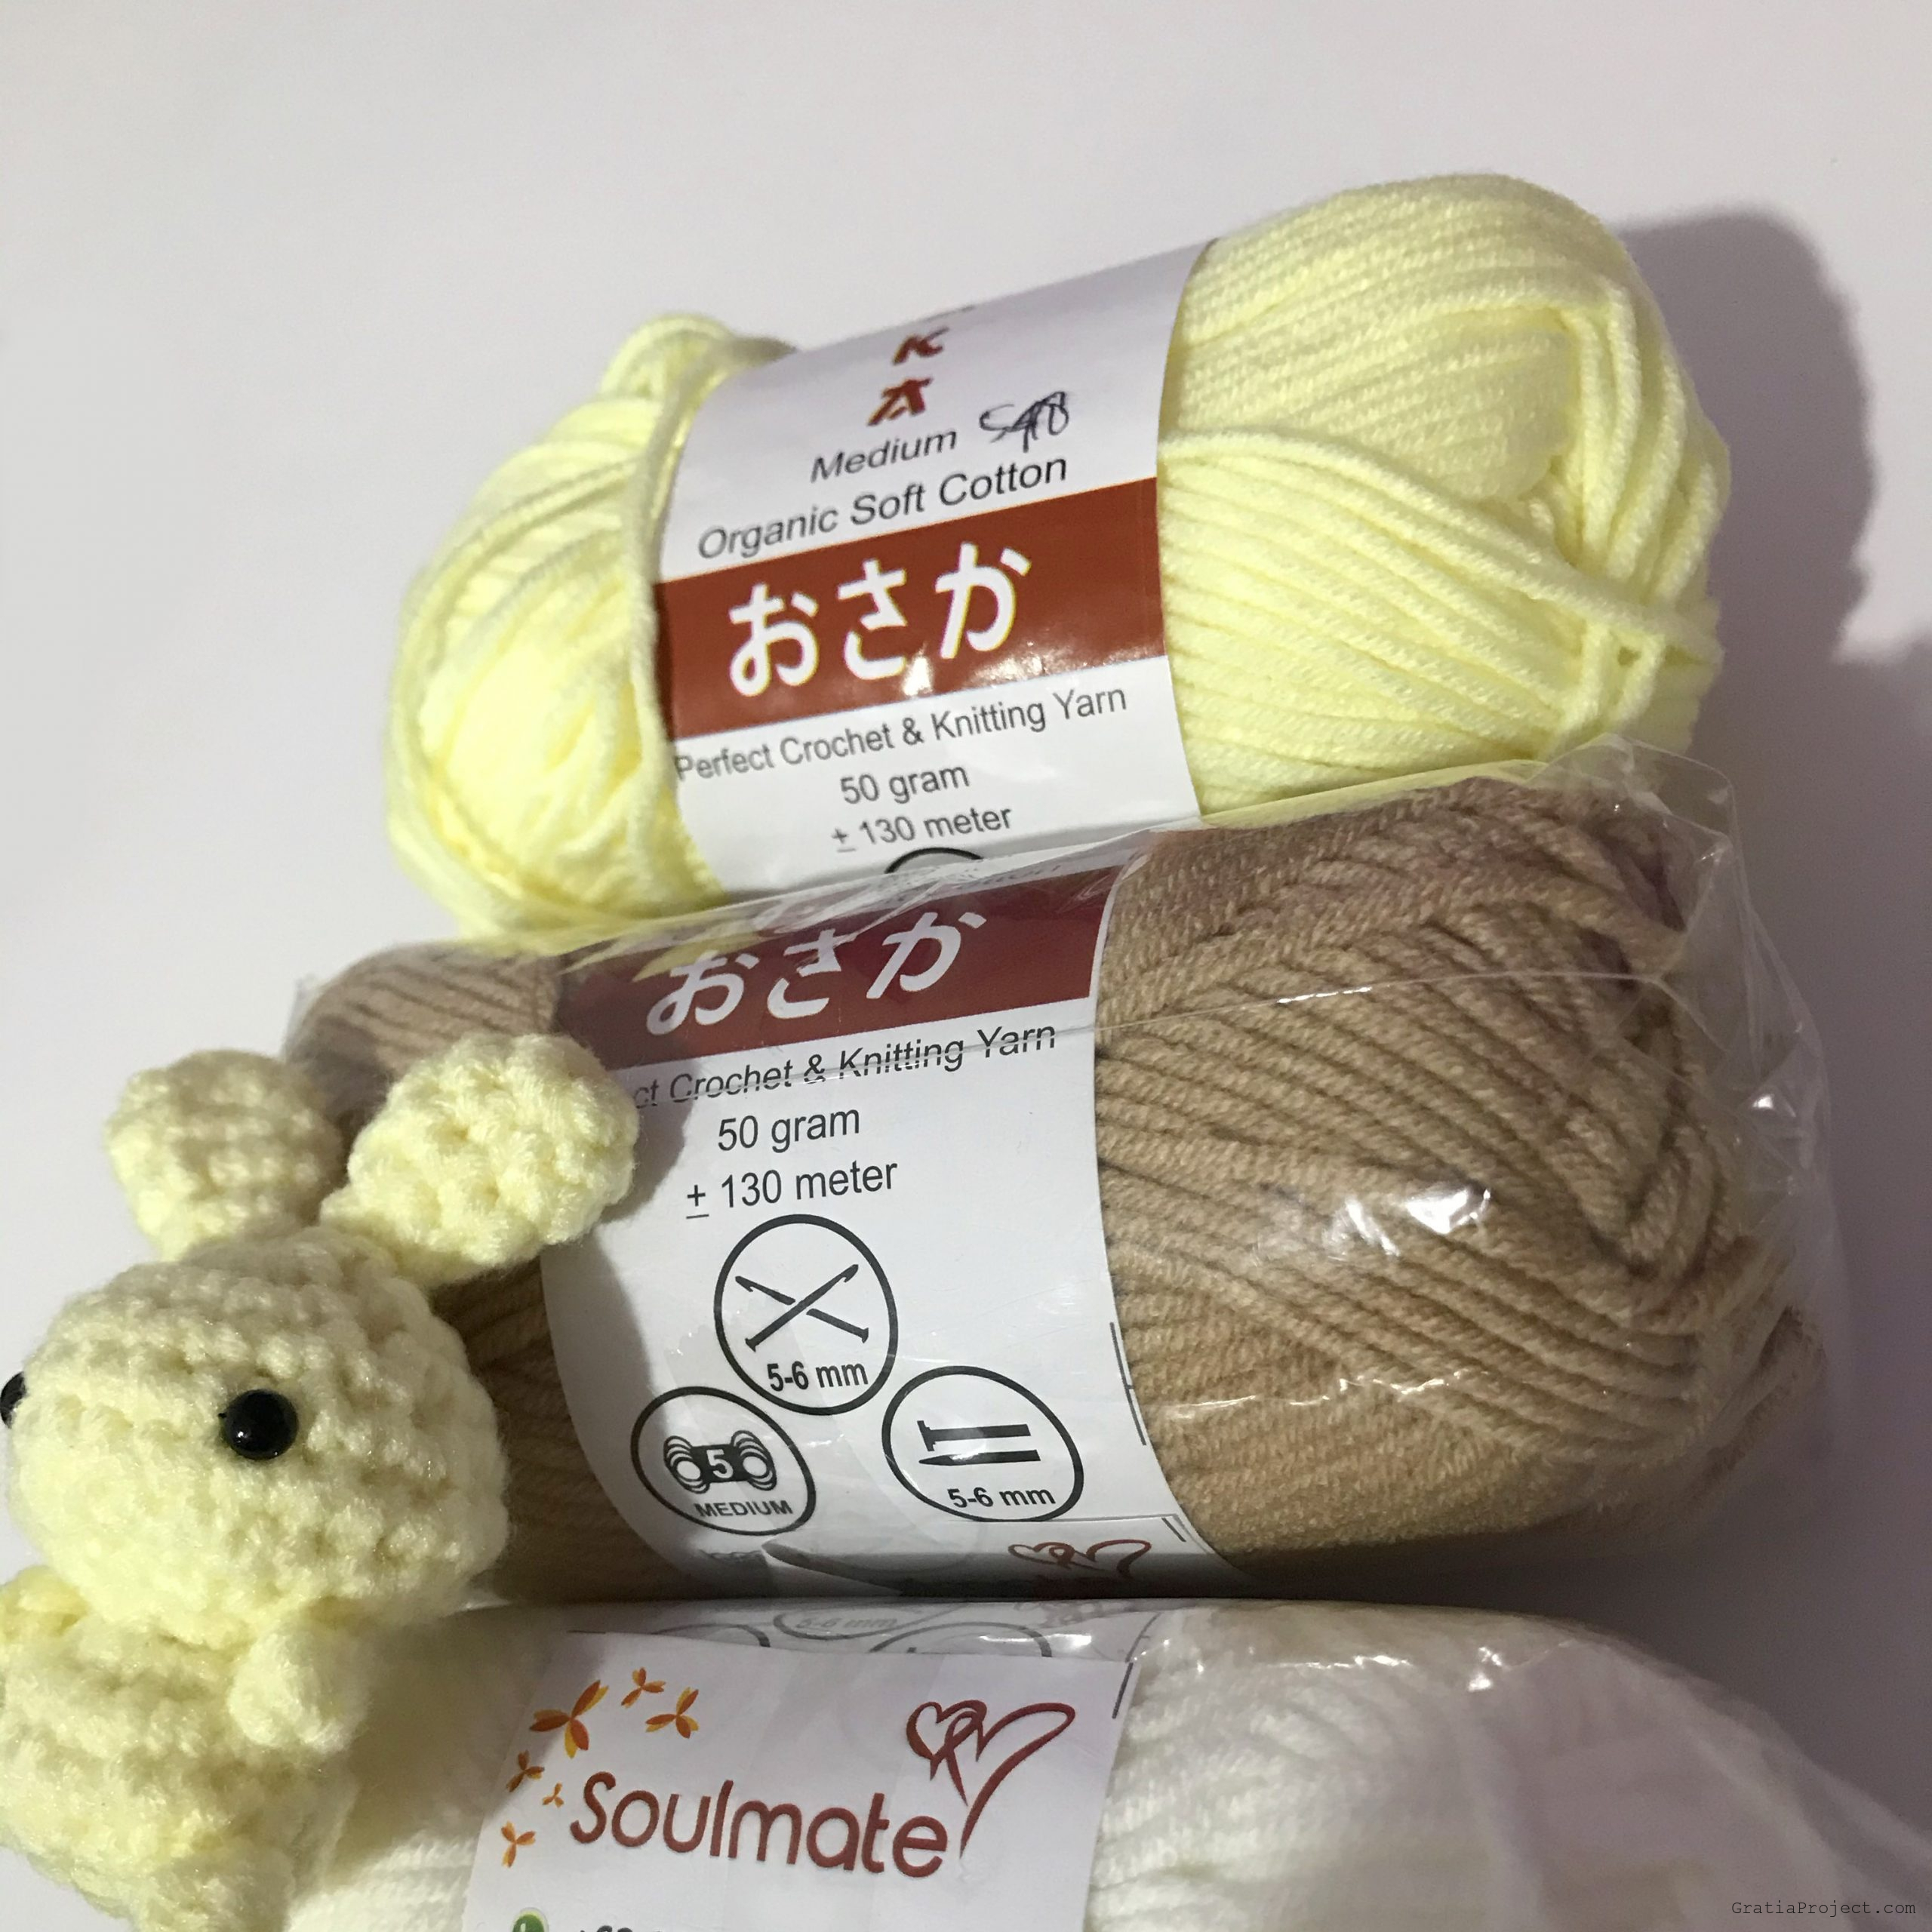
In this video tutorial, I am using 5-ply milk cotton yarn, and crochet hook size 5/0 – 3mm.

Watch step-by-step video tutorial and free pattern of mini cute bunny rabbit crochet amigurumi
Mini Cute Bunny Rabbit Crochet Amigurumi Pattern Free
Original pattern by Effi GratiaProject.com
ABBREVIATIONS (US Crochet Terms)
MR: Magic Ring
st(s): stitch(es)
sl st: slip stitch
ch: chain
sc: single crochet
inc: increase (make 2 sc in the same space)
dec: decrease (sc2tog) – use Invisible Decrease for better result
[#]: number of stitche(s) in a round
Material
Yarn (worsted-weight soft cotton yarn)
Crochet hook (size 5/0 – 3mm)
Stitch marker
Tapestry needle
Safety Eyes (size 5 mm)
Scissors
Poly-fil (or any fiber filling)
ABBREVIATIONS (US Crochet Terms)
MR: Magic Ring
st(s): stitch(es)
sl st: slip stitch
ch: chain
sc: single crochet
inc: increase (make 2 sc in the same space)
dec: decrease (sc2tog) – use Invisible Decrease for better result
[#]: number of stitche(s) in a round
Note: Pattern is working in the round. Use stitch marker to mark first stitch in a round.
Pattern for the head and body, start from the top of the head.
Round 1: Working in the round. In a Magic Ring, sc 6 [total 6 sts]
Round 2: Inc x6 [12 sts]
Put a stitch marker to mark every first stitch in a round.
Round 3: (Sc, inc) x6 [18 sts]
Round 4: Sc in each stitch around [18 sts]
Round 5: (Sc, sc, inc) x6 [24 sts]
Round 6: Sc in each stitch around [24 sts]
Round 7: (Sc, sc, dec) x6 [18 sts]
Round 8: (Sc, dec) x6 [12 sts]
Install the safety eyes, embroider the mouth, and stuff the head with polyfill.
Embroider the mouth and insert safety eyes before closing the ‘head’ part. And we have to put washers on the back side. In my Youtube video tutorial, I forgot the eyes part, and also since my washers are missing, I just glued them. But please put washers to make it safe for little kids. And place them before the “head” part finished.
Round 9: Dec x6 [6 sts]
The head part is done. Now start making the body.
Round 10: Inc x6 [12 sts]
Round 11: (Sc, inc) x6 [18 sts]
Round 12: Sc in each stitch around [18 sts]
Round 13: (Sc, dec) x6 [12 sts]
Stuff the body with polyfill.
Round 14: Dec x6 [6 sts]
The body part is done. Cut yarn, leaving a 45-inches tail. Use tapestry needle to close the bottom part. Don’t cut the yarn, continue making the arms and legs.
How to crochet the arms and legs
With tapestry needle, bring the yarn to the left side between the head and body. Then take the tapestry needle off and use a crochet hook to make the left arm.
Ch 4, sc in the second loop from hook. Continue sc in the next 2 sts.
Use tapestry needle to stitch the arm and fold it so the arm looks tiny and cute. Watch my video for clear information.
Do the same pattern for the legs.
And for the tail pattern, do the following pattern:
Ch 4, then fold it.
Rabbit’s ear pattern
Round 1: In a Magic Ring, sc 8 [8 sts]
Round 2-3: Sc in each stitch [8 sts]
Round 4: (Sc, sc, dec) x2 [6 sts]
Round 5: (Sc, dec) x2 [4 sts]
Cut the yarn, leaving long tail enough for sewing. Use tapestry needle to attach both ears.
Watch step-by-step video tutorial and free pattern of mini cute bunny rabbit crochet amigurumi


I cannot see the written pattern. Where is it? I need the written one and not the video
I love the bunny but his do I download the pattern?
Do you have a tiny yellow bunny I could purchase like the one in the picture?