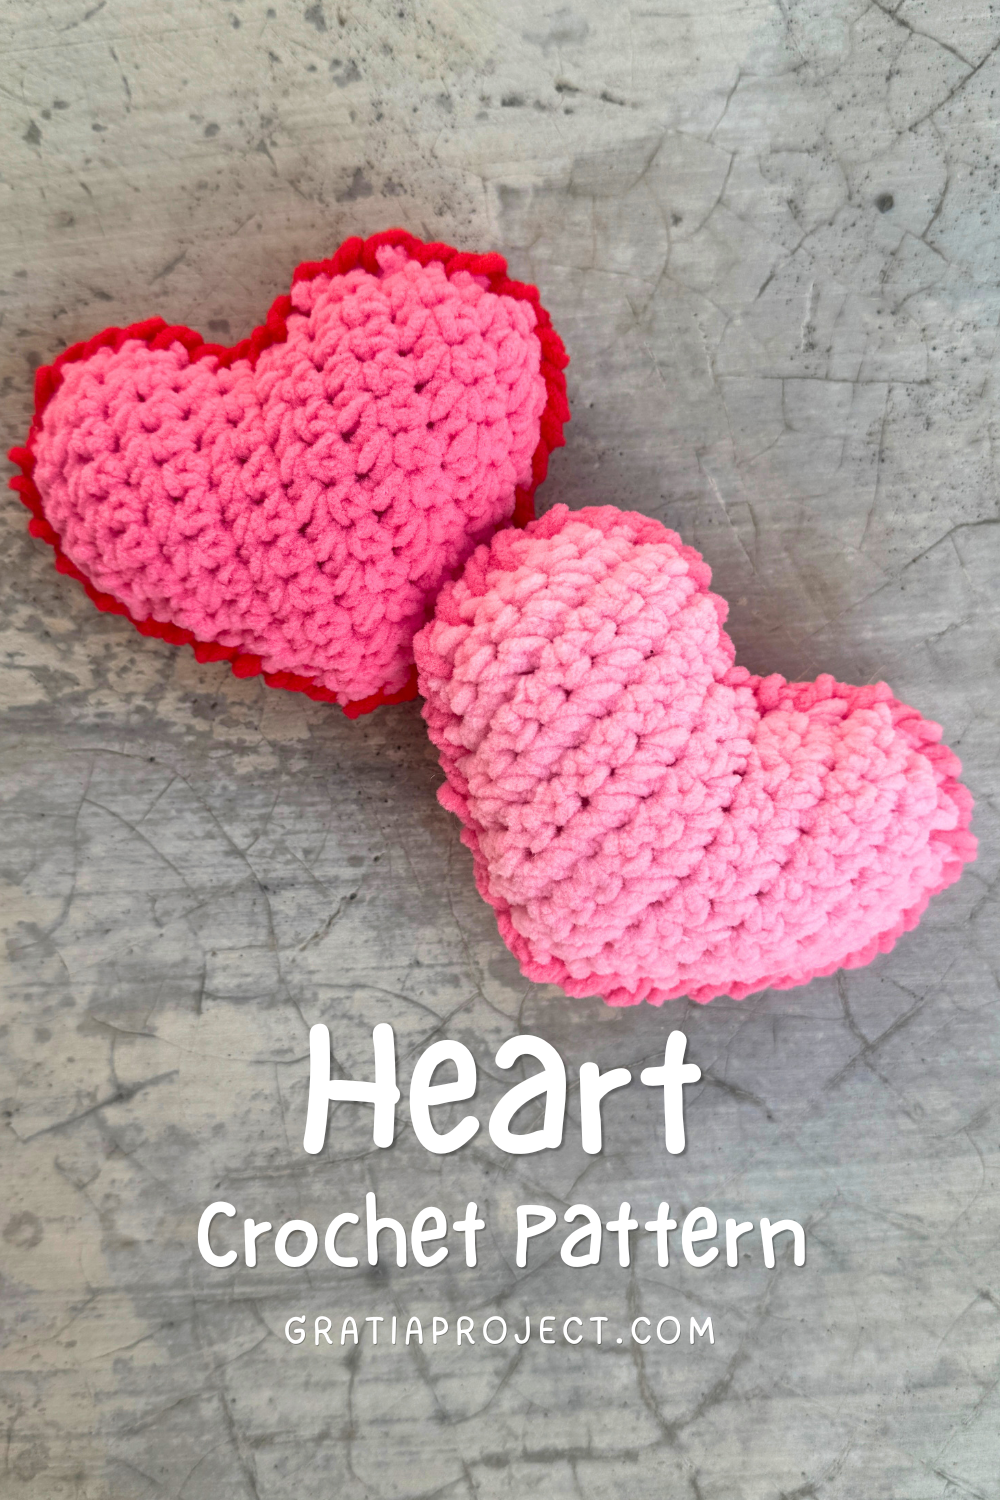
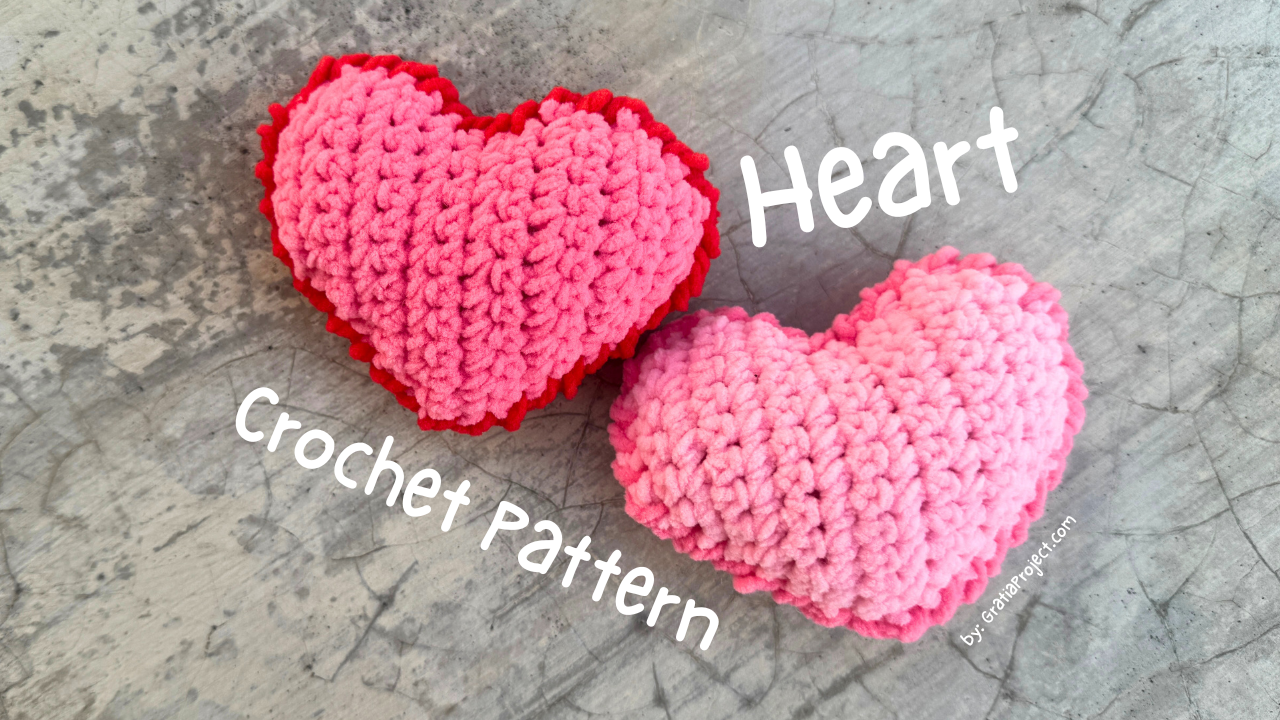
Create a cute, puffy heart that’s perfect for keychains, garlands, Valentine’s gifts, plushies, or as an applique for your crochet projects. This heart is made by crocheting two identical flat pieces and joining them together to create a soft, three-dimensional shape.
This pattern is beginner-friendly if you’re comfortable with basic crochet stitches such as single crochet, increases, and decreases. For the neatest finish, I recommend using invisible decreases throughout the pattern.
Abbreviations (US Crochet Terms)
- MR – Magic Ring
- st(s) – stitch(es)
- sl st – slip stitch
- ch – chain
- sc – single crochet
- inc – increase (work 2 sc in the same stitch)
- dec – invisible decrease (recommended)
- [ ] = Total number of stitches at the end of the row.
Invisible Decrease
Using an invisible decrease gives amigurumi a much smoother finish than a standard sc2tog.
To make an invisible decrease:
- Insert your hook into the front loop only of the next stitch.
- Insert your hook into the front loop only of the following stitch.
- Yarn over and pull through both front loops (2 loops remain on the hook).
- Yarn over and pull through both loops.
Materials
- Yarn: Chenille Yarn
- Crochet Hook: Tulip Crochet Hook
- Stitch Marker: CLOVER Lock Ring Markers
- Fiberfill
The finished size of your heart will vary depending on the yarn and hook size you use. For reference, I used 2 mm chenille yarn with 3 mm crochet hook, and my finished heart measures approximately 10 × 7.5 × 4 cm.
Some links may be affiliate links. If you purchase through these links, I may earn a small commission at no extra cost to you.
Puffy Heart Crochet Pattern
Pattern by Effi – GratiaProject.com
Please do not copy, repost, translate, or redistribute this pattern in any form. You may sell finished items made from this pattern.
Heart Piece (Make 2)
Ch 6
Row 1: Sc in the back loops of the 2nd ch from hook and in each remaining ch. 5 sc. [5]
Row 2: Ch 1, turn. Inc, sc 3, inc. [7]
Row 3: Ch 1, turn. Inc, sc 5, inc. [9]
Row 4: Ch 1, turn. Sc 8, inc. [10]
Row 5: Ch 1, turn. Inc, sc 9. [11]
Row 6: Ch 1, turn. Sc 10, inc. [12]
Row 7: Ch 1, turn. Inc, sc 11. [13]
Row 8: Ch 1, turn. Dec, sc 10, inc. [13]
Row 9: Ch 1, turn. Inc, sc 10, dec. [13]
Row 10: Ch 1, turn. Dec, sc 10, inc. [13]
Row 11: Ch 1, turn. Dec, sc 10, inc. [13]
Row 12: Ch 1, turn. Inc, sc 10, dec. [13]
Row 13: Ch 1, turn. Dec, sc 10, inc. [13]
Row 14: Ch 1, turn. Sc 11, dec. [12]
Row 15: Ch 1, turn. Dec, sc 10. [11]
Row 16: Ch 1, turn. Sc 9, dec. [10]
Row 17: Ch 1, turn. Dec, sc 8. [9]
Row 18: Ch 1, turn. Dec, sc 5, dec. [7]
Row 19: Ch 1, turn. Dec, sc 3, dec. [5]
Row 20: Ch 1, turn. Sc 5. [5]
Make two identical heart pieces.
Joining the Heart
Place the two heart pieces together.
Using a different color, join the two heart pieces with reverse single crochet (crab stitch) all the way around the edge. Before closing the opening, firmly stuff the heart with fiberfill, then continue crocheting to seal it closed.
How to Make Reverse Single Crochet (Crab Stitch)
Reverse single crochet is worked in the opposite direction of normal crochet. Instead of working from right to left (for right-handed crocheters), work from left to right.
- Insert your hook into the next stitch to the right.
- Yarn over and pull up a loop (2 loops on hook).
- Yarn over again and pull through both loops.
Repeat around the entire heart.
The reverse single crochet creates a beautiful twisted cord edging that neatly joins both pieces together while giving the heart a decorative finished border.
I hope you enjoy making this little heart! If you share your finished project on Instagram, don’t forget to tag me. I’d love to see your creation.