Bunny Rabbit Crochet Coaster | Gift Ideas
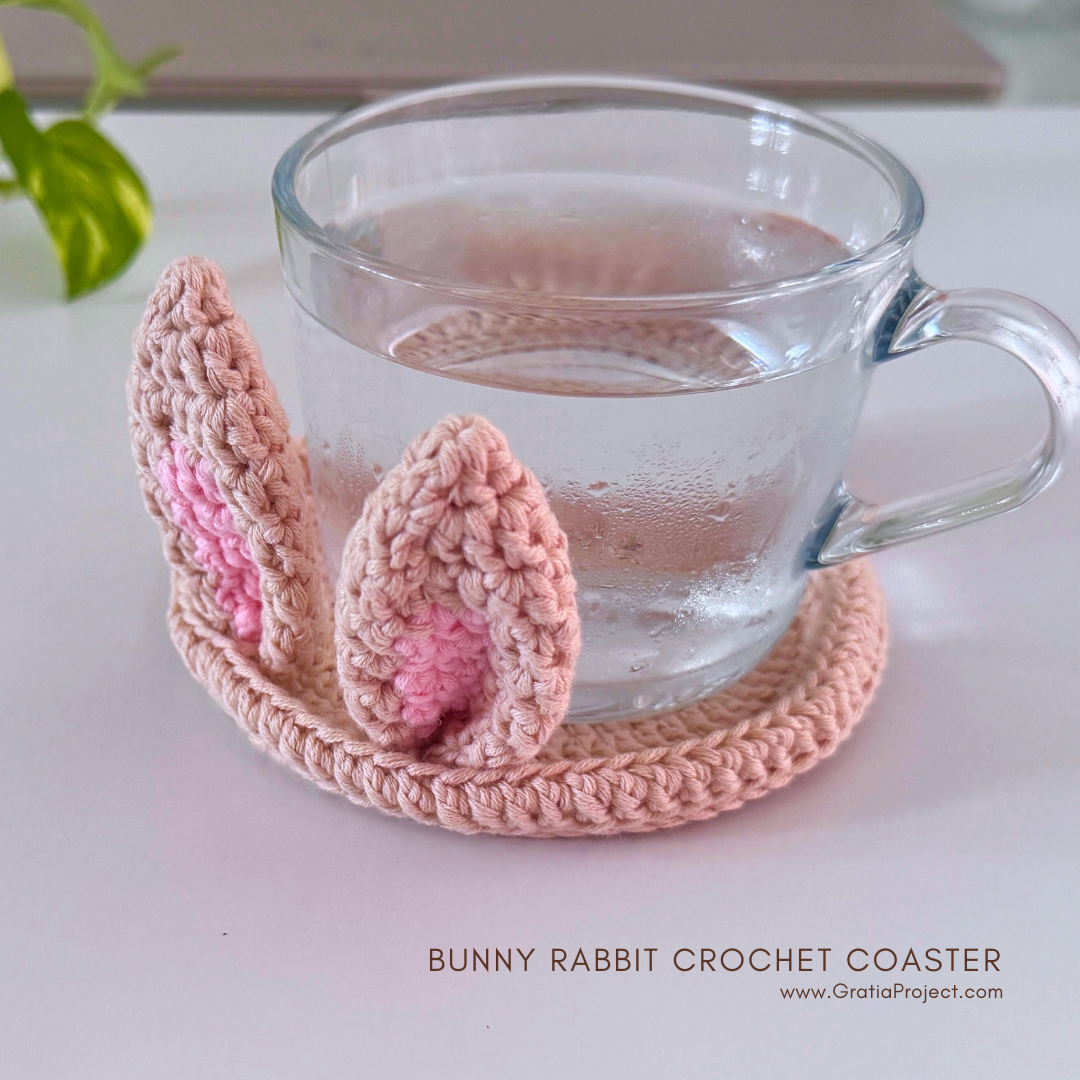
I just finished making an adorable Bunny Rabbit Crochet Coaster, and it’s perfect for springtime, Easter, baby showers, or simply as a thoughtful handmade gift!
To make it even easier for you, I created a step-by-step video tutorial, and it’s completely free. Whether you’re a beginner or just looking for a relaxing project, you can follow along at your own pace.
Prefer reading? No worries! I also wrote out the full written pattern, so you can crochet your bunny coaster anytime, anywhere.
These little coasters are not just fun to make, but they also make lovely gift ideas for friends, family, or even yourself. Pair a few of them with a mug or a basket of tea for a cozy, handmade gift set!
Bunny Rabbit Crochet Coaster Pattern by Effi GratiaProject.com
MATERIALS
Some links may be affiliate links which will allow me to make a commission for purchases made through the following link.
DK weight yarn (I used cotton yarn), color beige and pink
Crochet hook size 3mm or 5/0
Stitch markers
Tapestry needle
Scissors
ABBREVIATIONS (US Crochet Terms)
MR: Magic Ring
st(s): stitch(es)
sl st: slip stitch
ch: chain
dc: double crochet
inc: increase (make 2 dc stitches in the same space)
dec: decrease (dc2tog)
[#]: number of stitche(s) in a round
NOTES
- Working in the round, join with slip stitch. Start from Round 1 (the top of the ear).
- I started with chain 3 (counts as the first dc in every round)
- Changing color start at Round 5.
This pattern is copyright protected. Rewriting, reselling, distributing, or copying this pattern is prohibited. You are allowed to sell finished products produced from this pattern, but please credit me as the pattern designer. If you sell them online please also provide a link to GratiaProject.com.
PATTERN
COASTER BASE PATTERN
Use beige color.
R1: In a Magic Ring, ch 3, dc 11. Join with sl st. [total 12 sts]
R2: Ch 3. Increase in each st around. Dc in the same space with ch 3. Join with sl st. [24 sts]
R3: Ch 3. (Dc, inc) x11. Dc in the last st. Dc in the same space with ch 3. Join with sl st. [36 sts]
R4: Ch 3. (Dc in next 2 sts, inc) x11. Dc in the last 2 sts. Dc in the same space with ch 3. Join with sl st. [48 sts]
R5: Ch 3. (Dc in next 3 sts, inc) x11. Dc in the last 3 sts. Dc in the same space with ch 3. Join with sl st. [60 sts]
R6: Ch 3. (Dc in next 4 sts, inc) x11. Dc in the last 4 sts. Dc in the same space with ch 3. Join with sl st. [72 sts]
R7: Ch 3. Dc in each stitch around, front-loops only (FLO). Join with sl st. [72 sts]
R8: Ch 3. Dc in each stitch around, back-loops only (BLO). Join with sl st. [72 sts]
Fold Round 8 and slip-stitch it together with back-loops of the previous round.

Finish off and cut the yarn.
PATTERN FOR EARS (make 2)
Use beige color.
R1: In a MR, ch 3, then dc 5 [6 sts]
R2: Ch 3. Increase in each st around. Dc in the same space with ch 3. Join with sl st. [12 sts]
R3: Ch 3. (Dc in next 2 sts, inc) x3. Dc in the last 2 sts. Dc in the same space with ch 3. Join with sl st. [16 sts]
R4: Attach pink yarn. Ch 3. Dc in each st. Use pink yarn only for the first 3 sts, including ch 3. [total 16 sts]
R5-7: Repeat pattern for R4

R8: Ch 3. Decrease all [8 sts]
Cut the yarn and finish off.
Pom-pom: Wrap beige yarn around a fork 80-100 times, tie tightly, cut loops, and trim.
Attach the bunny ears and pom-pom tail to the coaster base.

Don’t forget to share your creations with me in Instagram. I’d love to see them!

