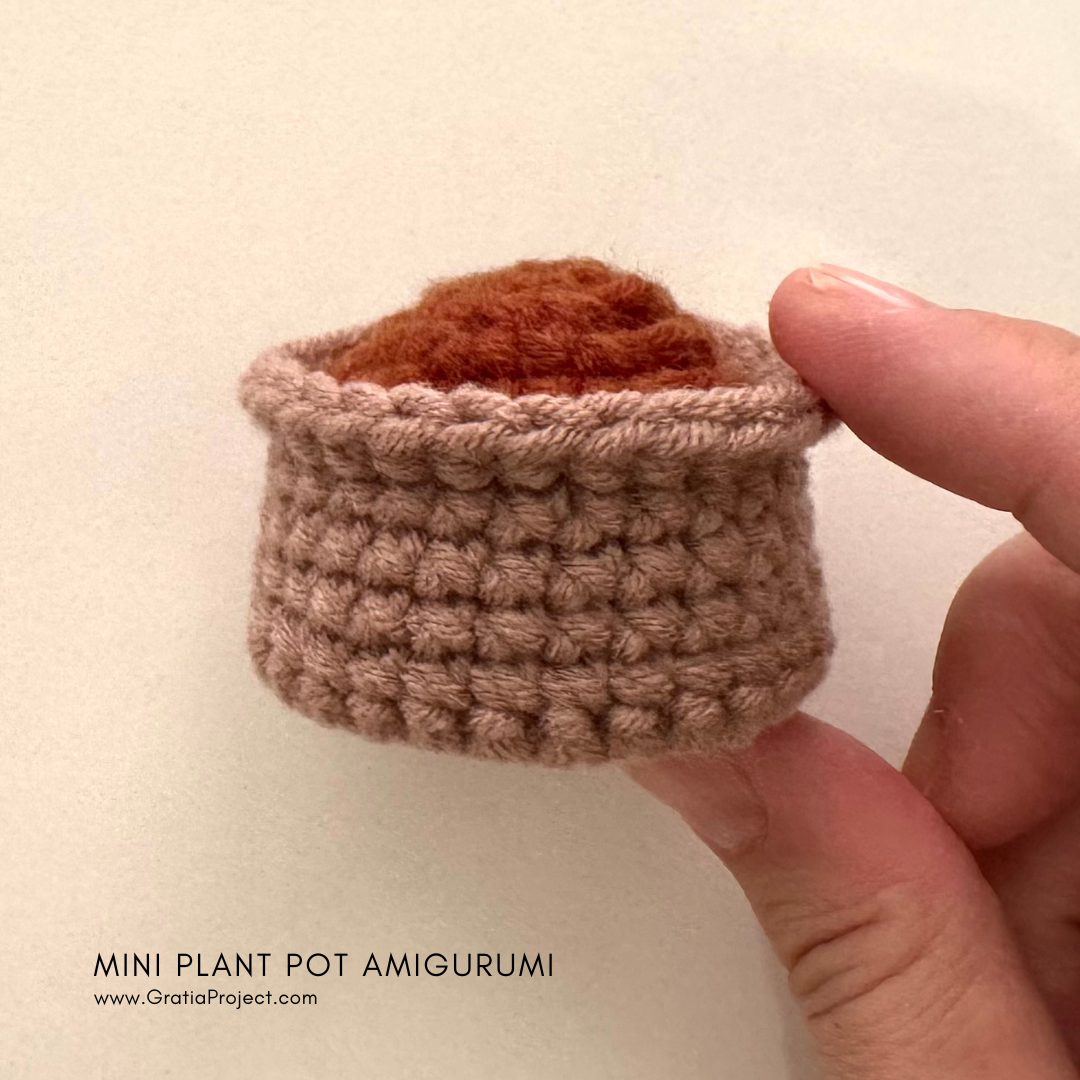
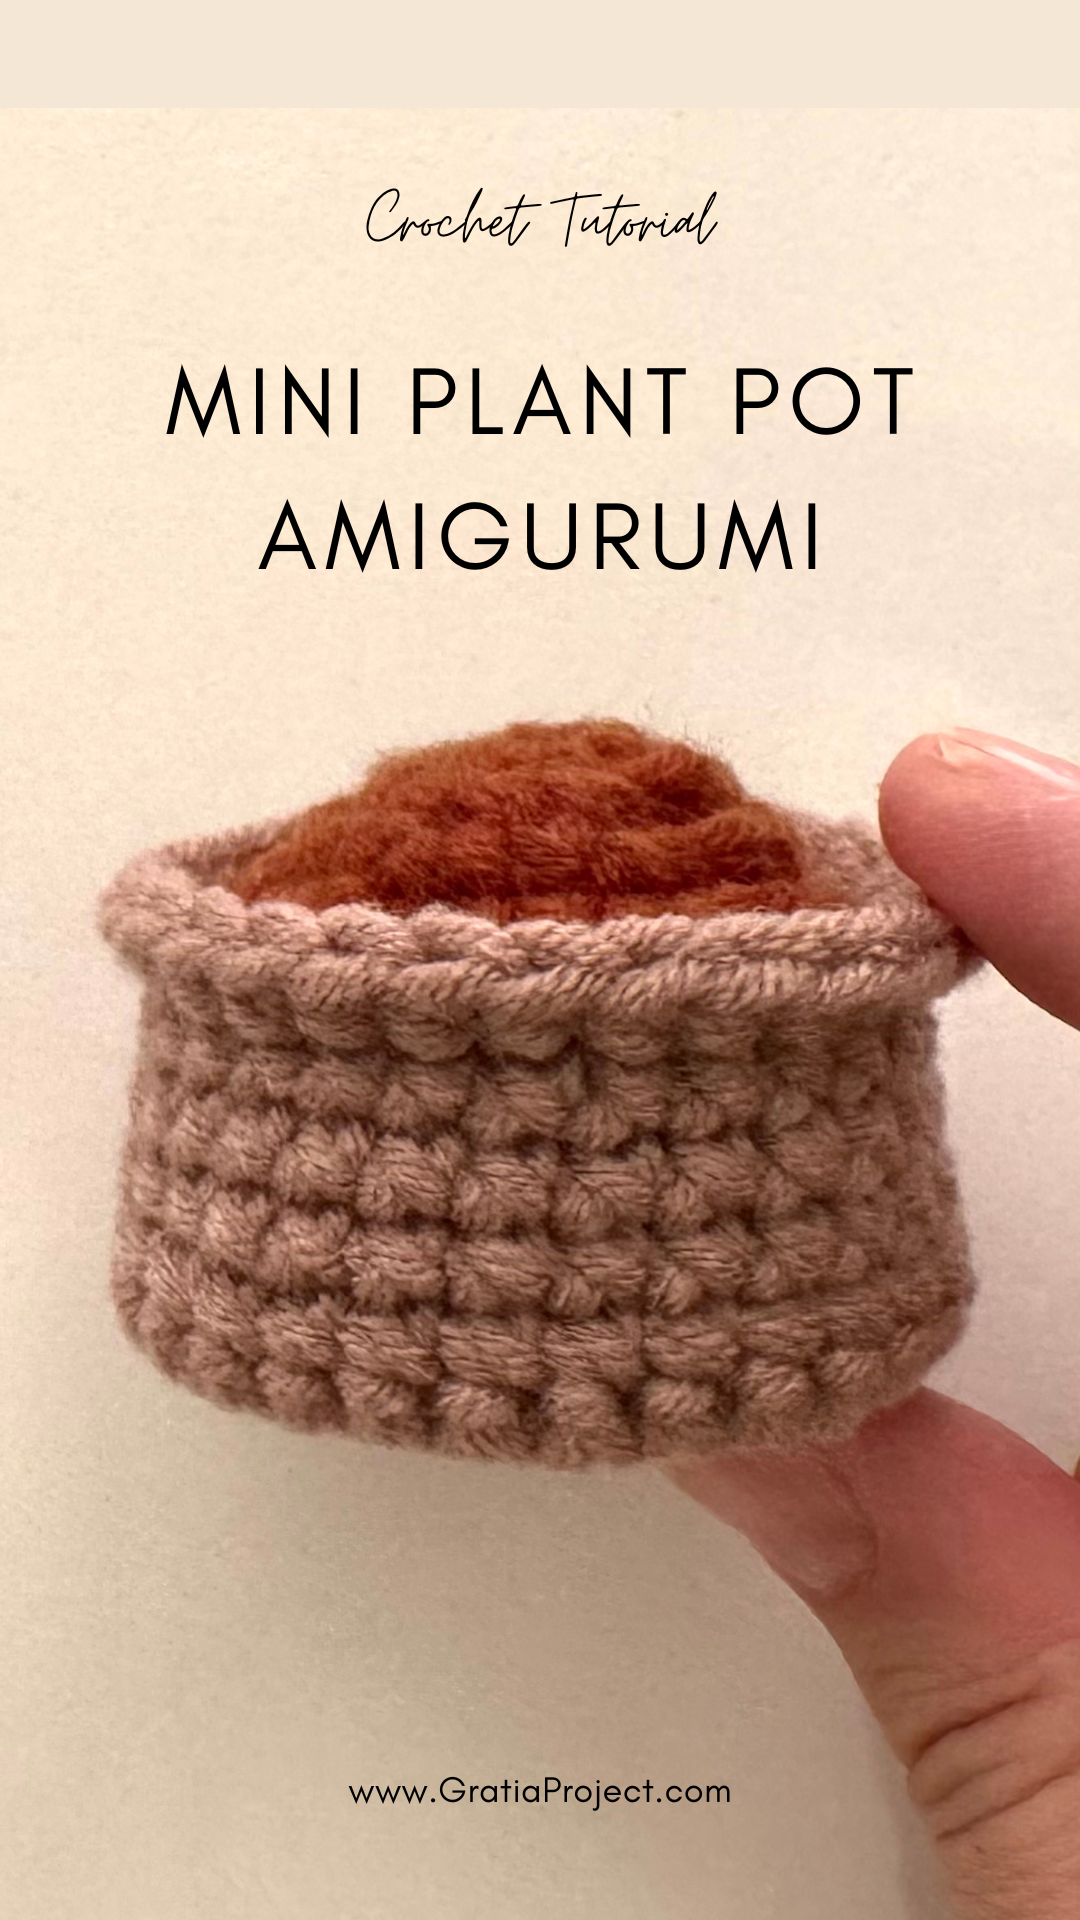
Crochet Mini Plant Pot Amigurumi Tutorial
Looking for a cute and creative crochet project? Let’s dive into making an adorable Mini Plant Pot Amigurumi. These tiny pots are perfect for adding a handmade touch to your space or gifting to plant-loving friends. Plus, they’re super beginner-friendly!
In this tutorial, you’ll learn how to crochet a mini plant pot from scratch. It starts with a sturdy base (because every pot needs a good foundation), followed by a simple body that gives the pot its signature shape. You can even customize it by playing with colors—think terracotta for a classic look or pastel shades for something fun.
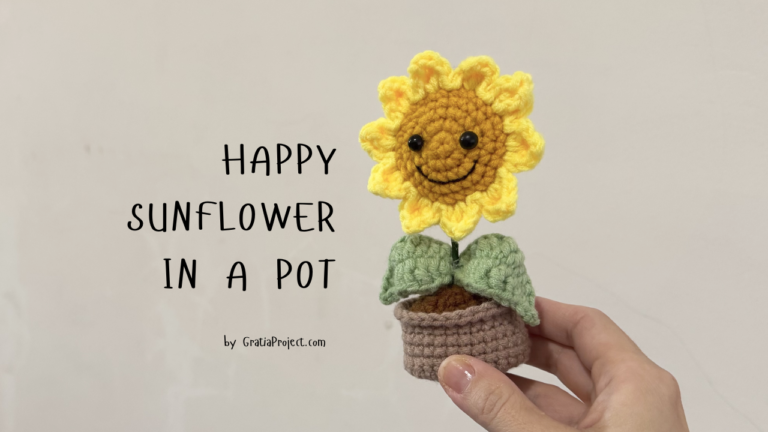
The best part? We can craft a little plant to sit inside the pot! From a tiny cactus with “spikes” to a leafy succulent, the options are endless. I have Happy Sunflower Crochet Pattern that match with this pot. And don’t worry if you’re new to crochet; this project uses basic stitches and includes step-by-step guidance to help you along the way.
Grab your yarn, hook, and let’s get started on this cute little project. Trust me, once you’ve made one, you’ll want a whole collection of these mini pots to brighten up your desk or shelf. Let’s crochet some cuteness! 🌱
Crochet Mini Plant Pot Amigurumi Pattern
Materials
Prepare 2 yarn colors. In this tutorial, I use brown for the pot, and dark-brown for the soil/dirt
Crochet hook that matches with your yarn
Fiberfill
Tapestry needle
Scissors
ABBREVIATIONS (US Crochet Terms)
st(s): stitch(es)
sl st: slip stitch
MR: Magic Ring
ch: chain
sc: single crochet
inc: increase (make 2 sc in the same space)
R: Round
[#]: number of stitch(es) in a round
Notes
Join each round with a slip stitch
Pattern for the pot
With brown yarn, make a Magic Ring.
R1: Ch 1. Sc 7 [total 7 stitches]
R2: Ch 1. Inc x7 [14 sts]
R3: Ch 1. (Sc, inc) x7 [21 sts]
R4: Ch 1. (Sc, sc, inc) x7 [28 sts]
R5: Ch 1, TURN. Sc around [28 sts]
R6: Ch 1, TURN. Sc around [28 sts]
R7-9: Ch 1. Sc around [28 sts]
R10: Ch 1. Sc in FRONT LOOP ONLY [28 sts]
Cut the yarn. With tapestry needle, join with invisible stitch.
Pattern for the soil/dirt
With dark-brown yarn, make a Magic Ring.
R1: Ch 1. Sc 7 [total 7 stitches]
R2: Ch 1. Inc x7 [14 sts]
R3: Ch 1. (Sc, inc) x7 [21 sts]
R4: Ch 1. (Sc, sc, inc) x7 [28 sts]
Close it with slip stitch. Cut the yarn.
Insert the fiberfill to the pot. Use a tapestry needle to the soil to the back loops of Round 10 of the pot.
Please watch my video tutorial for detail step-by-step how to crochet this mini pot.
