This tiny knit bag is one of my favorite little projects for beginners. It’s small, it’s quick, and when you open it up at the end it turns into a sweet drawstring bag, which still makes me smile every time. Use it for coins, earbuds, lip balm, or a tiny gift.
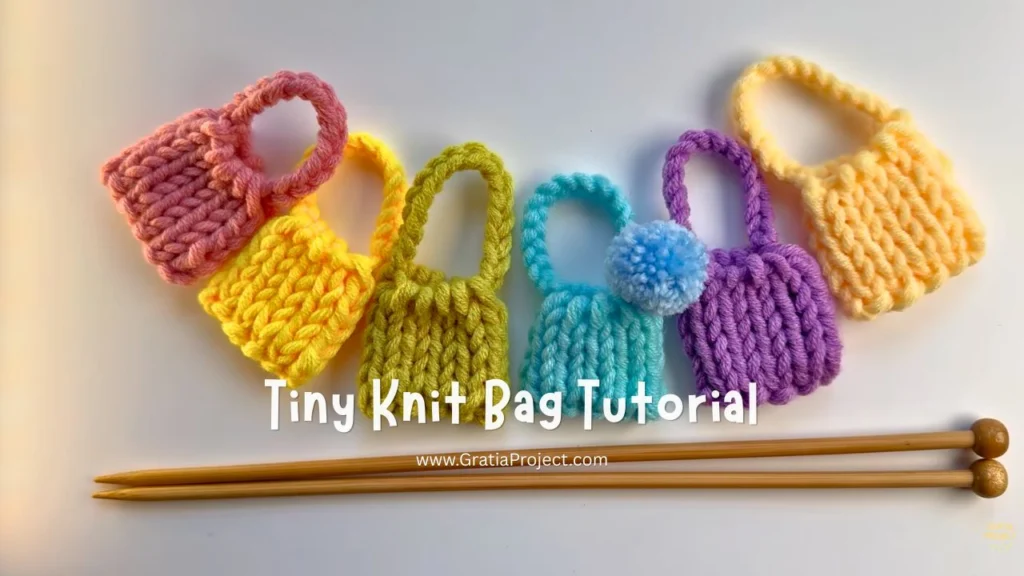
I also made a step-by-step video tutorial on my YouTube channel, so you can watch exactly how I do each step and knit along with me. You’ll find it at the end of this post.
You only need a few basic knitting skills:
- casting on
- the knit stitch
- slipping a stitch purl-wise
- casting off
What You’ll Need
- Yarn: worsted weight
- Knitting needles: 4.5 mm
- Crochet hook: any size that works with your yarn (for the handle)
- Tapestry needle
Tiny Knit Bag Pattern
Pattern by Effi – GratiaProject.com
Video tutorial first published on YouTube: January 30, 2024
Cast On
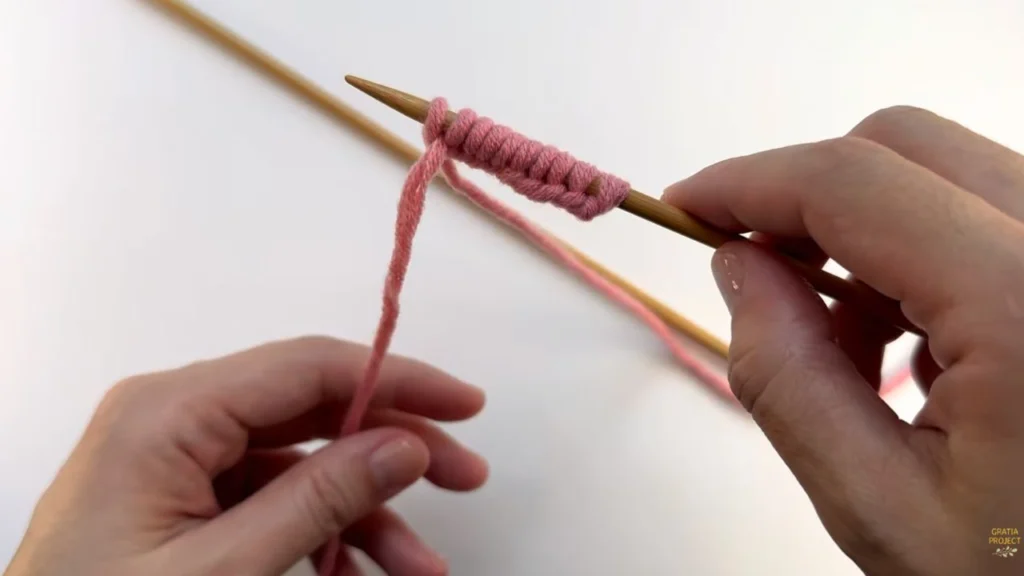
Using the long-tail cast-on, leave a tail of about 30 cm. Make a slip knot, then cast on 9 more stitches, so you have 10 stitches on the needle (counting the slip knot).
Knitting the Bag
Round 1: With the other needle, knit 1, bring the yarn to the front, and slip the next stitch purl-wise. Repeat this across all 10 stitches. Then work the exact same pattern for the other side.
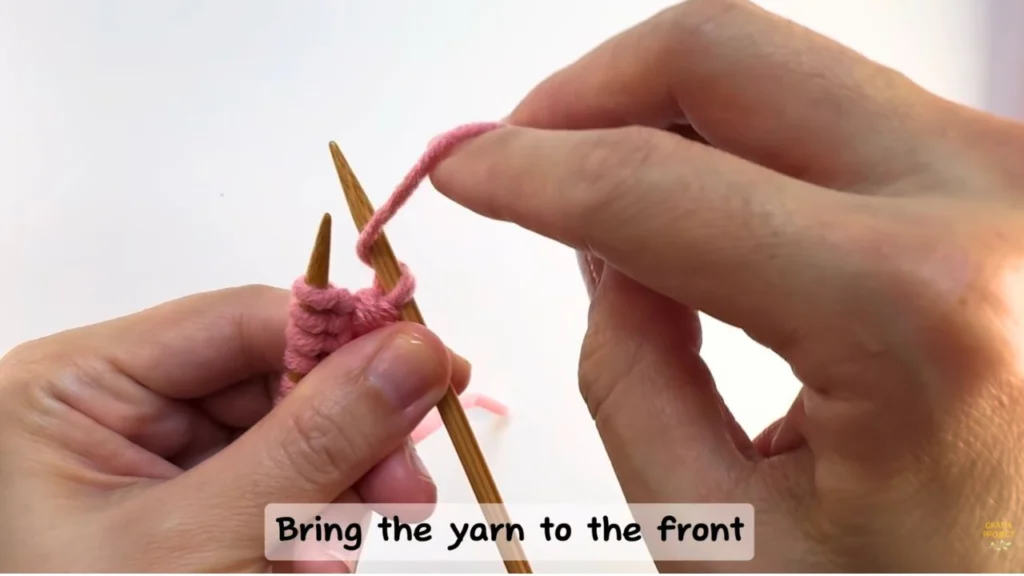
Rounds 2–6: Repeat Round 1.
Make sure you knit the same number of rounds on the front and the back.
Closing the Bag
- Measure about 60 cm of yarn tail, then cut the yarn.
- Thread the tail onto your tapestry needle.
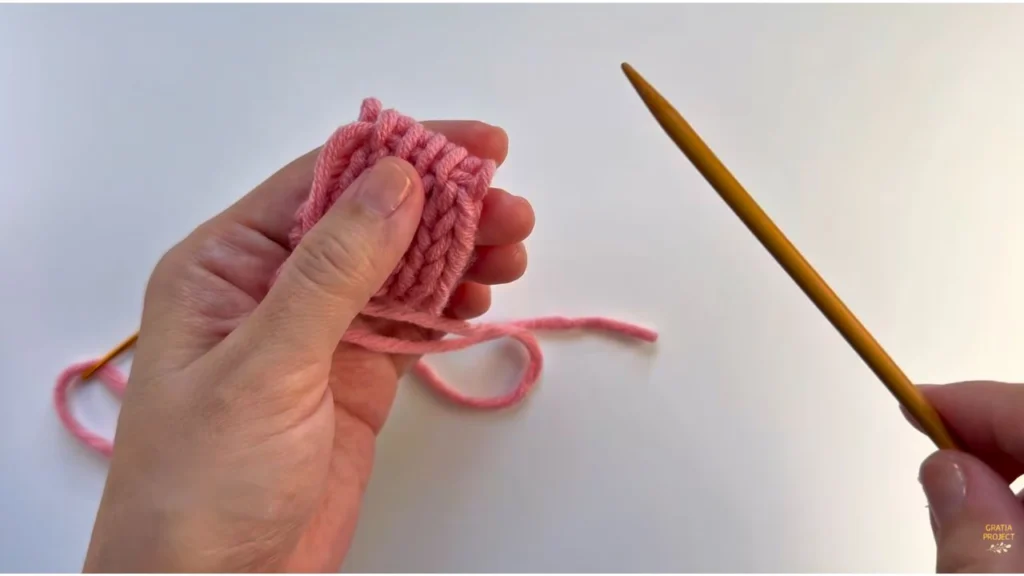
- Starting from the right side, pass the needle behind the 1st, 3rd, 5th, 7th, and 9th stitches.
- Do the same on the other side.
- Carefully slide the knitting needle out.
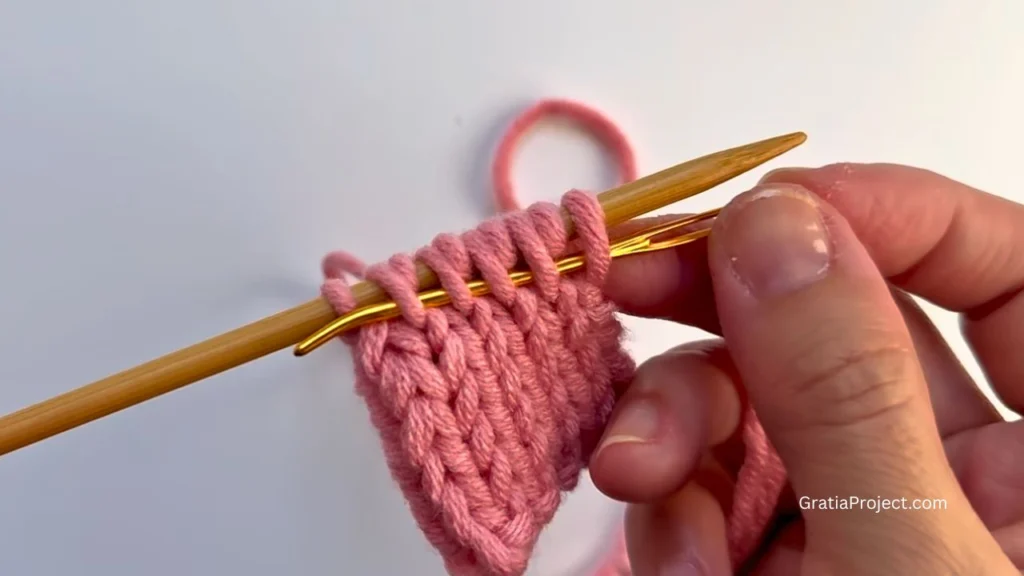
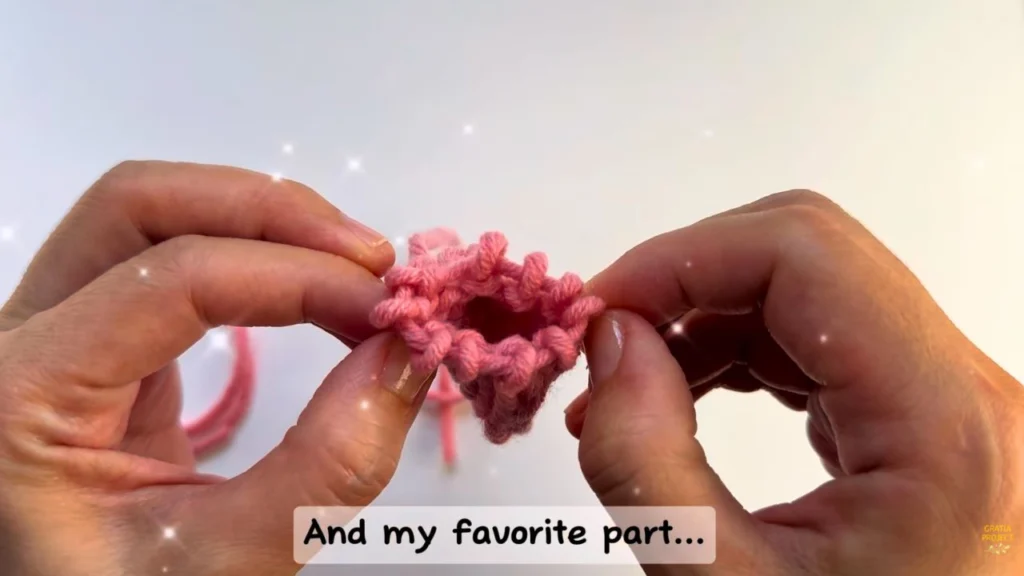
Now for my favorite part: gently open the bag. It works just like a drawstring bag!
Handle
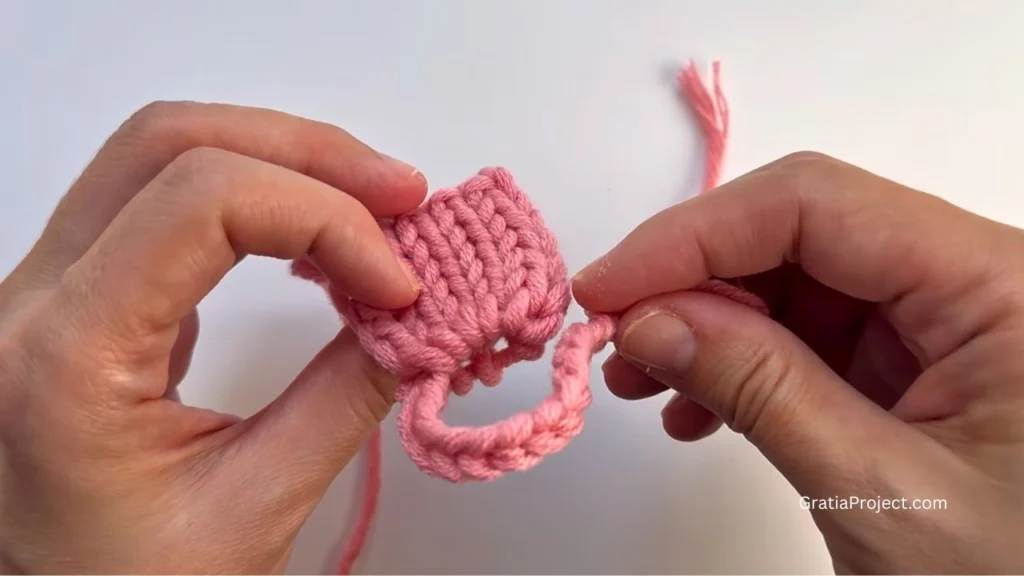
- Using the yarn tail and a crochet hook, chain 15.
- Attach the end of the chain to the other side of the bag with your tapestry needle.
- Check that the bag still opens easily, and don’t pull the handle too tight.
- Secure the yarn and hide any leftover tails inside the bag.
Video Tutorial
Want to see it in action? Watch my full step-by-step video tutorial below. It’s especially helpful for the slipped stitches and for opening the bag at the end.
Knitting along? My free online row counter works for knitting too, so you’ll always know which round you’re on.